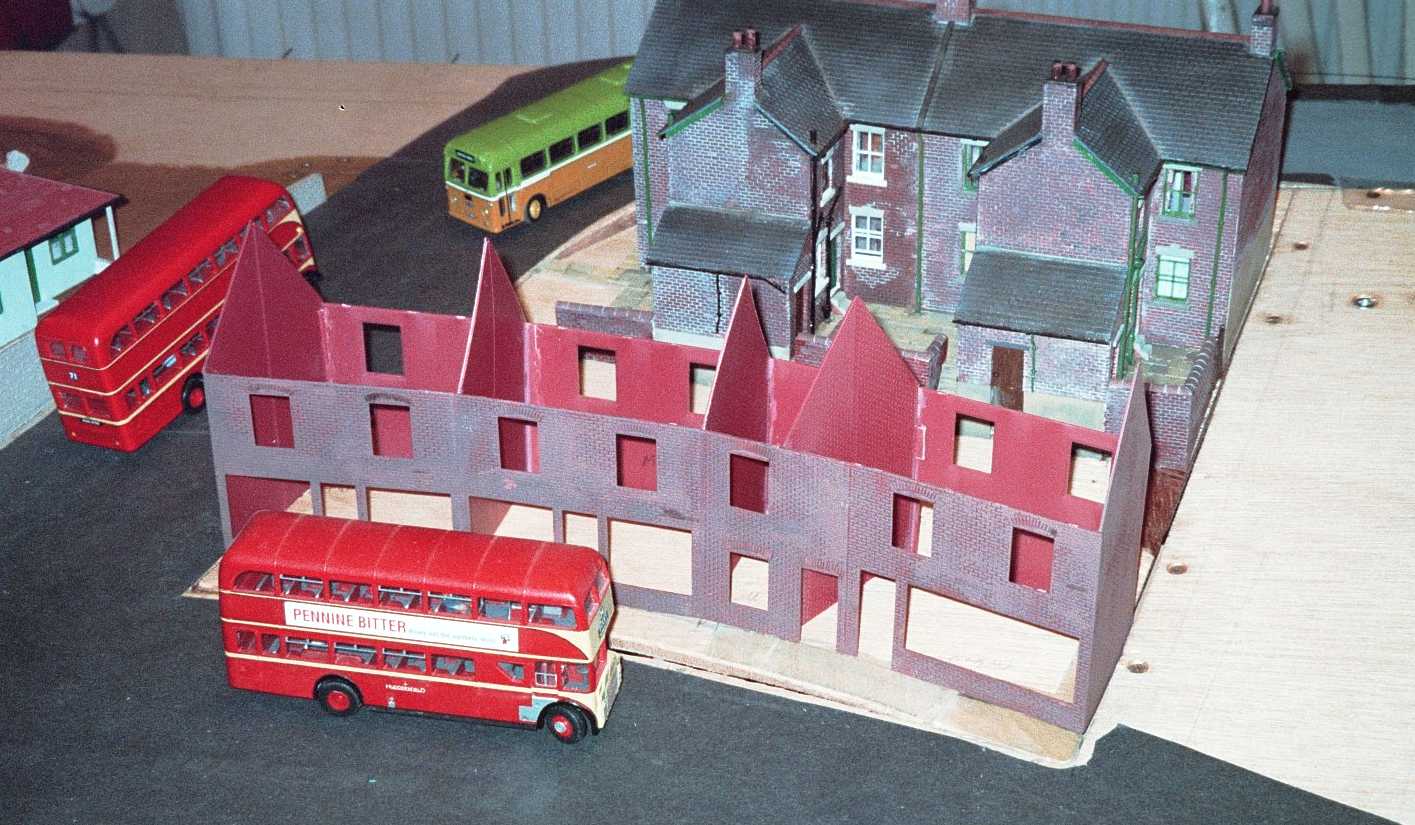
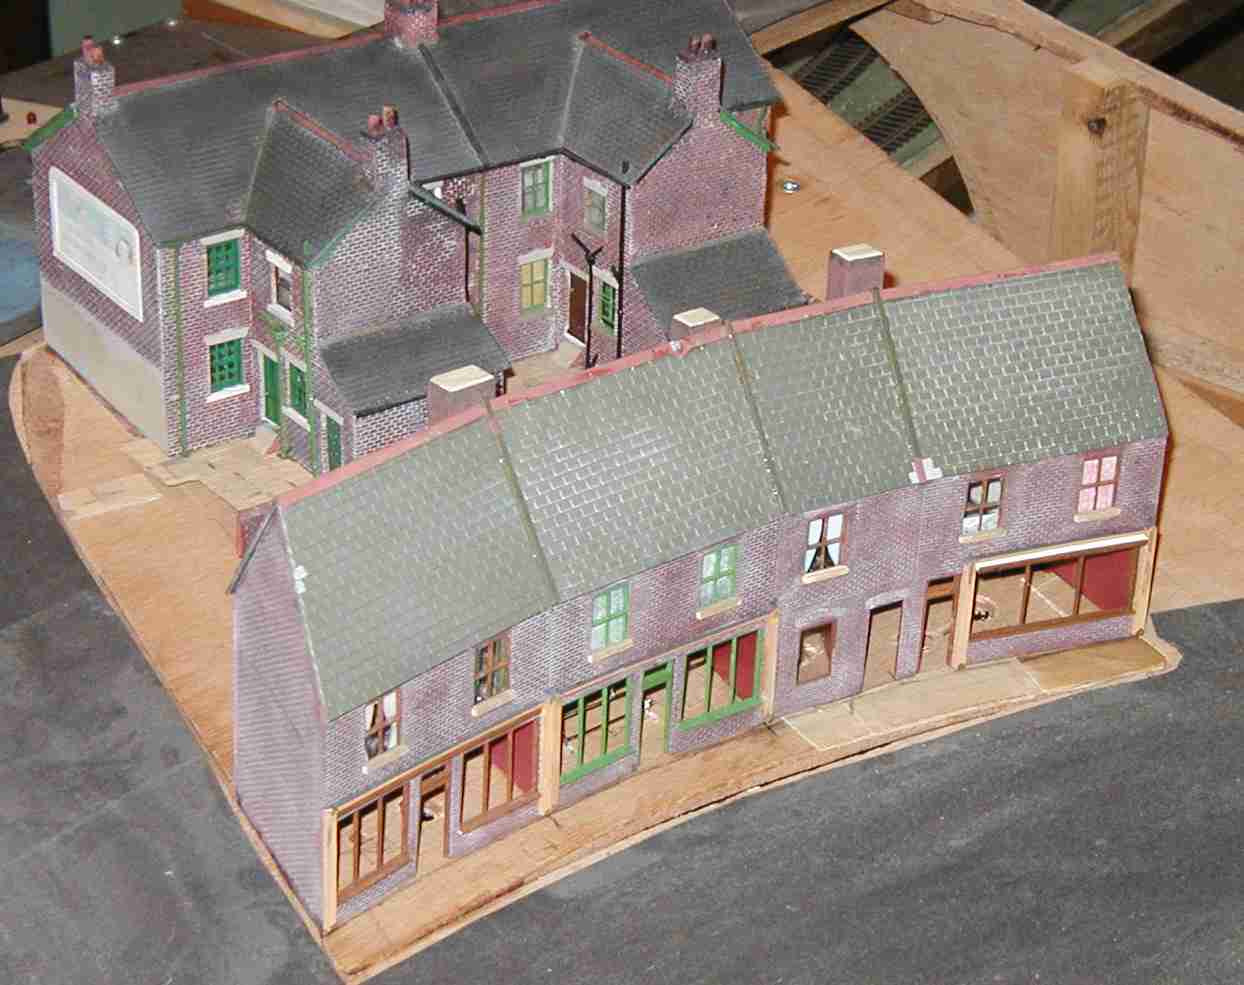
On the second board the parade of shops takes shape, with four terraced houses in the background.
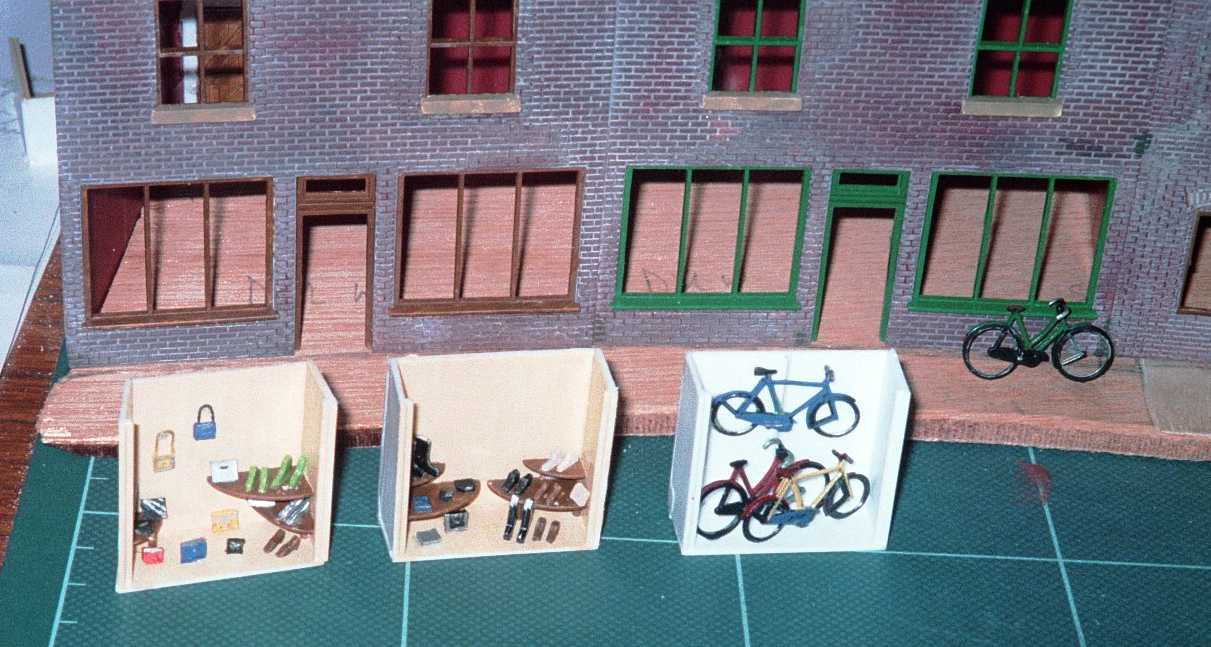
The window displays for the shoe & bag shop and the bike shop ready for installation.
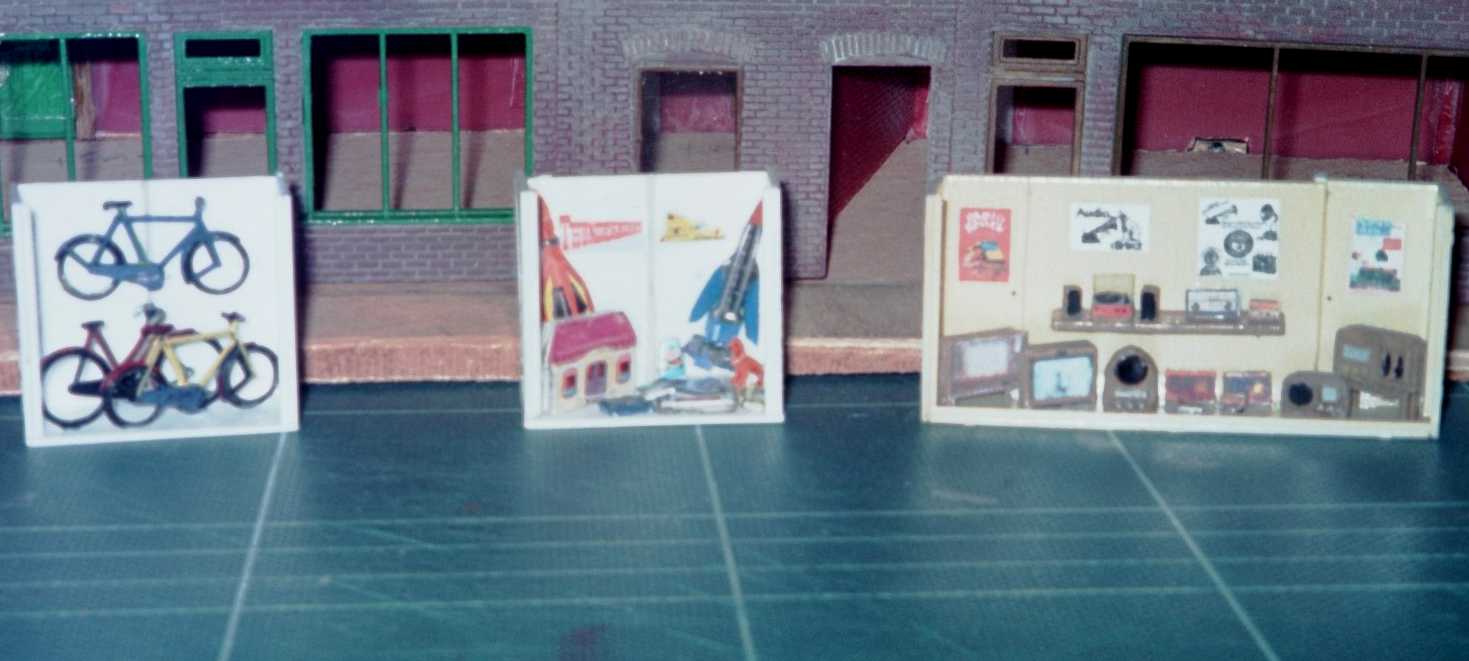
The last window displays ready - the toy shop and the electrical store. Most of the shop window items were hand-made, except the bicycles.
The rest of the shop detailing has been carried out. The working awning mechanism was also sorted out, so the shops could gain their roofs! The window displays were the last to be fitted.
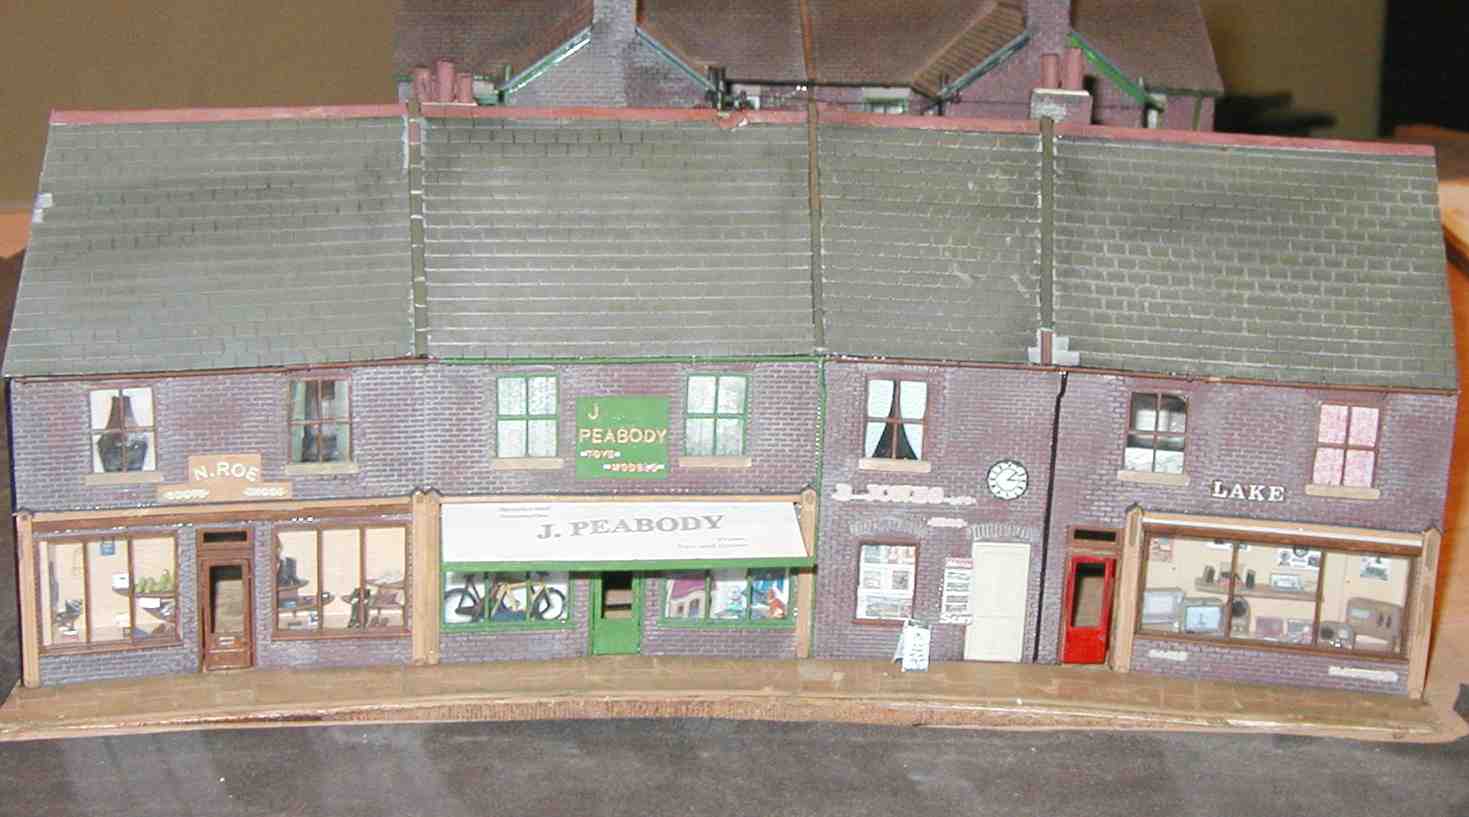
Many details added, shop windows and names, chimneys, telephone wires, gardens and pavements - and the toy and bike shop awning works! Here it is extended. A motorised-type point motor is used to move it in and out. It is very effective! (>>)
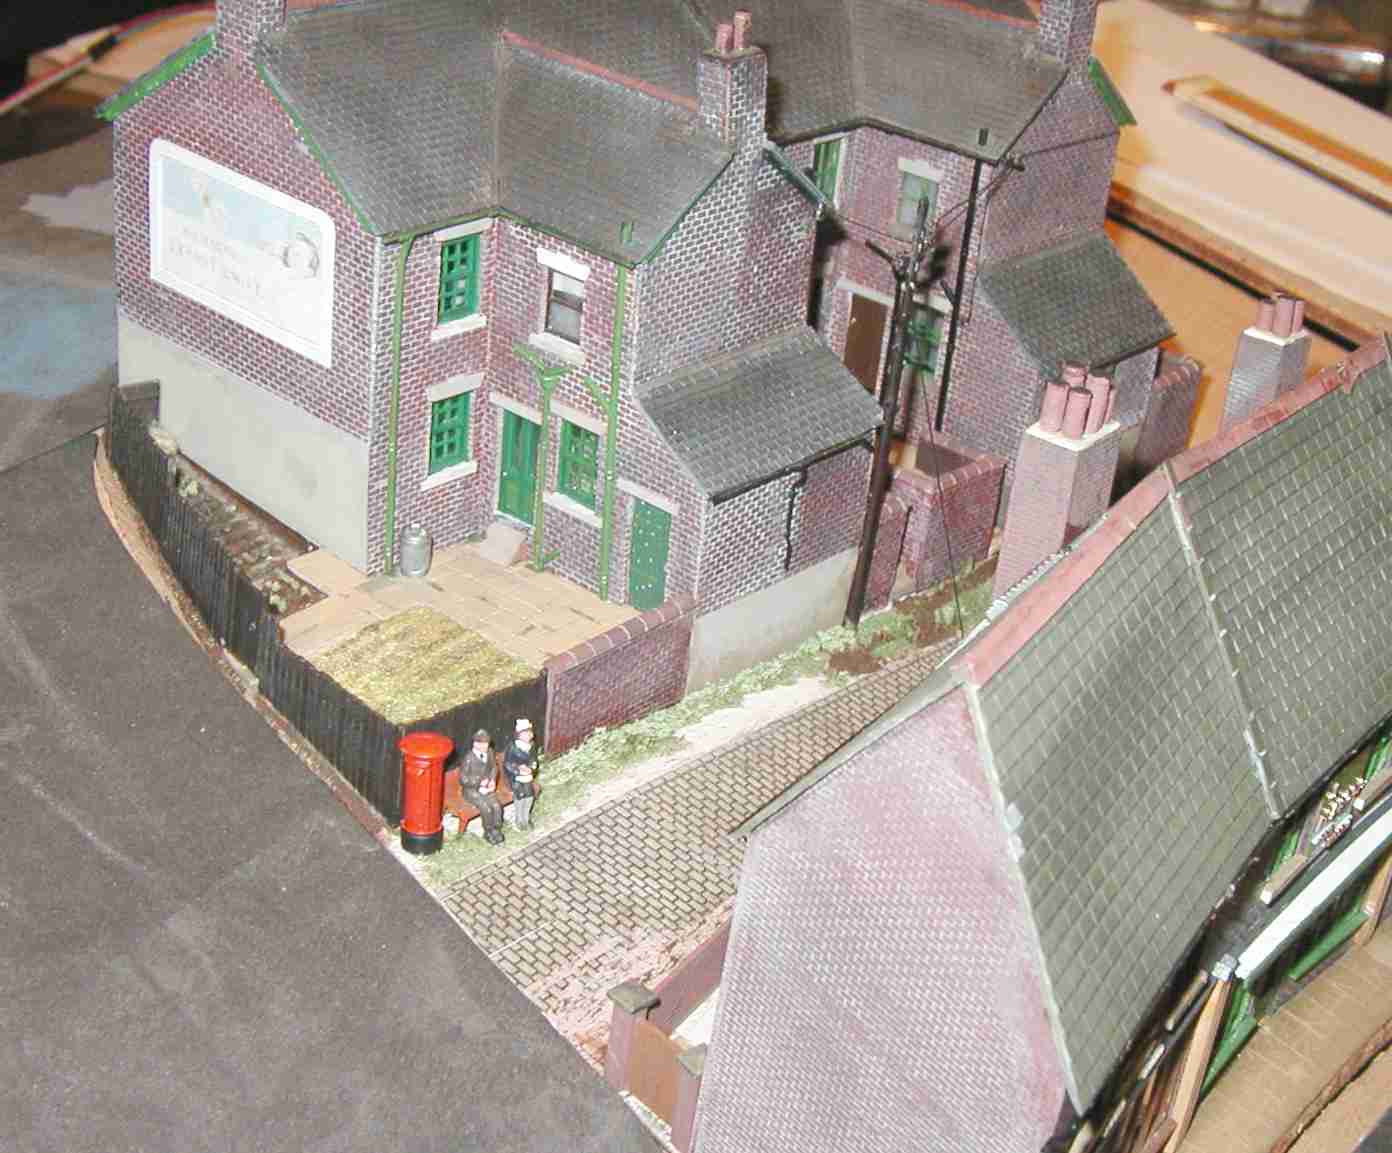
View along the back lane behind the shops with the terraced house gardens complete.
The model won two trophies in a local modelling competition!
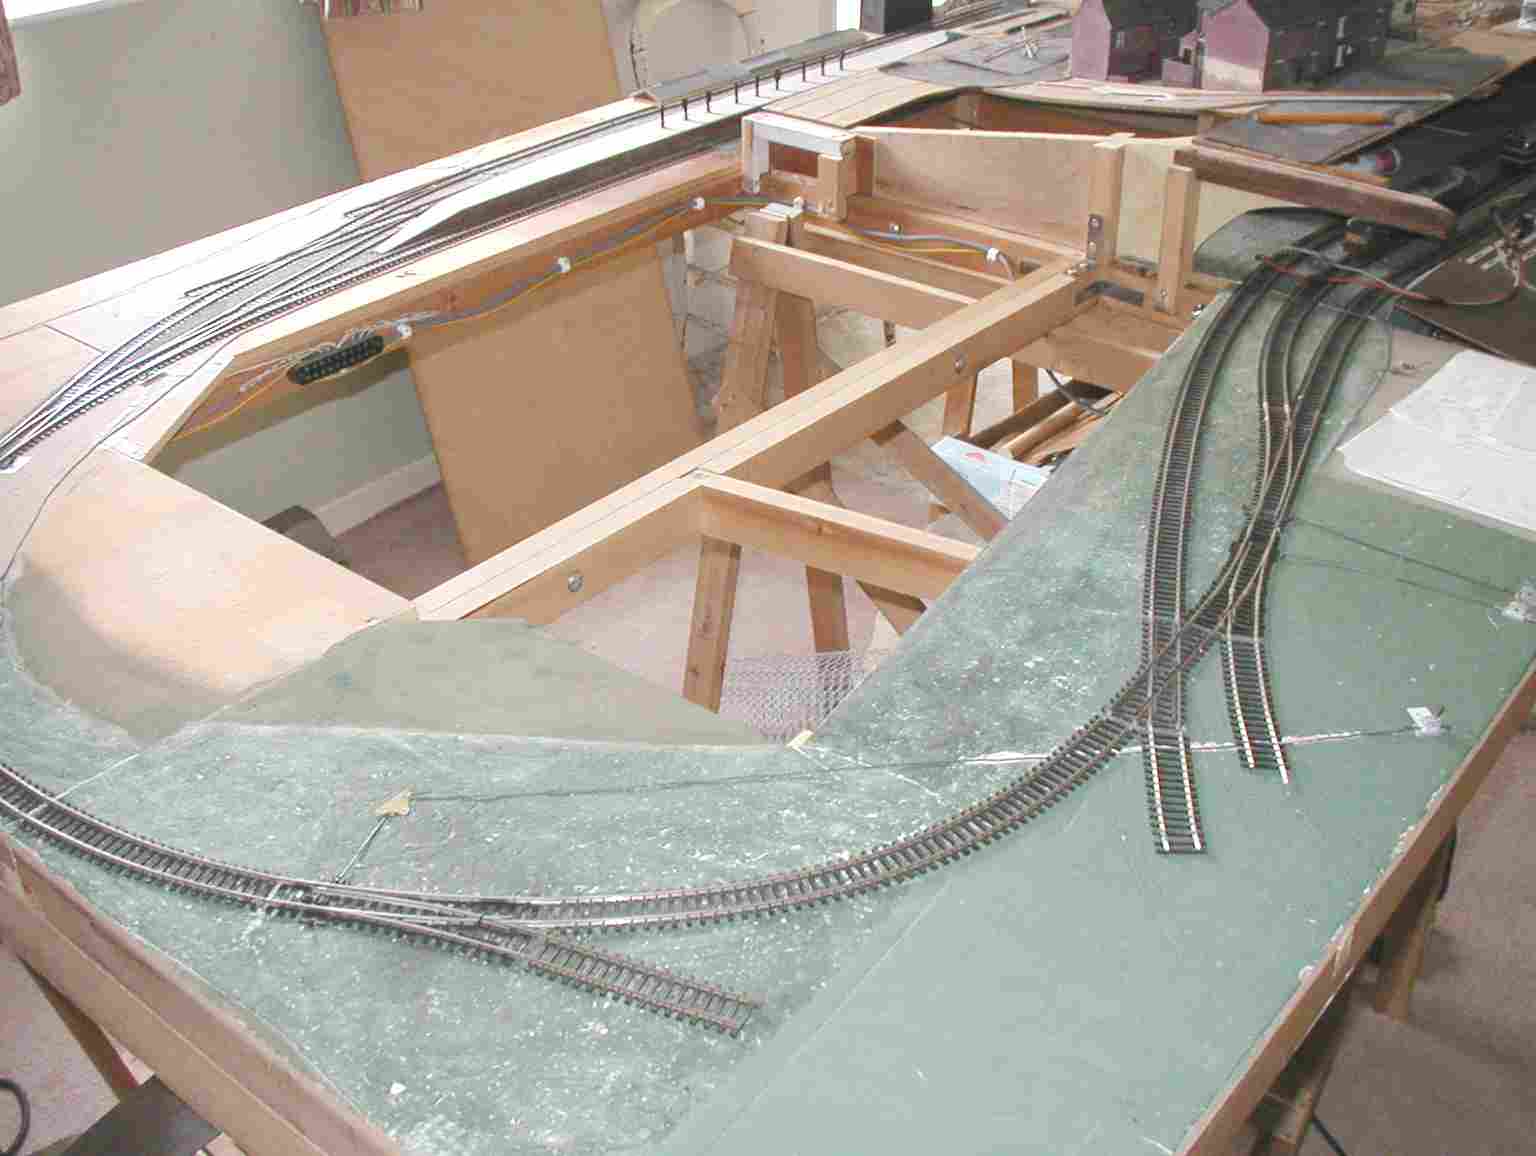
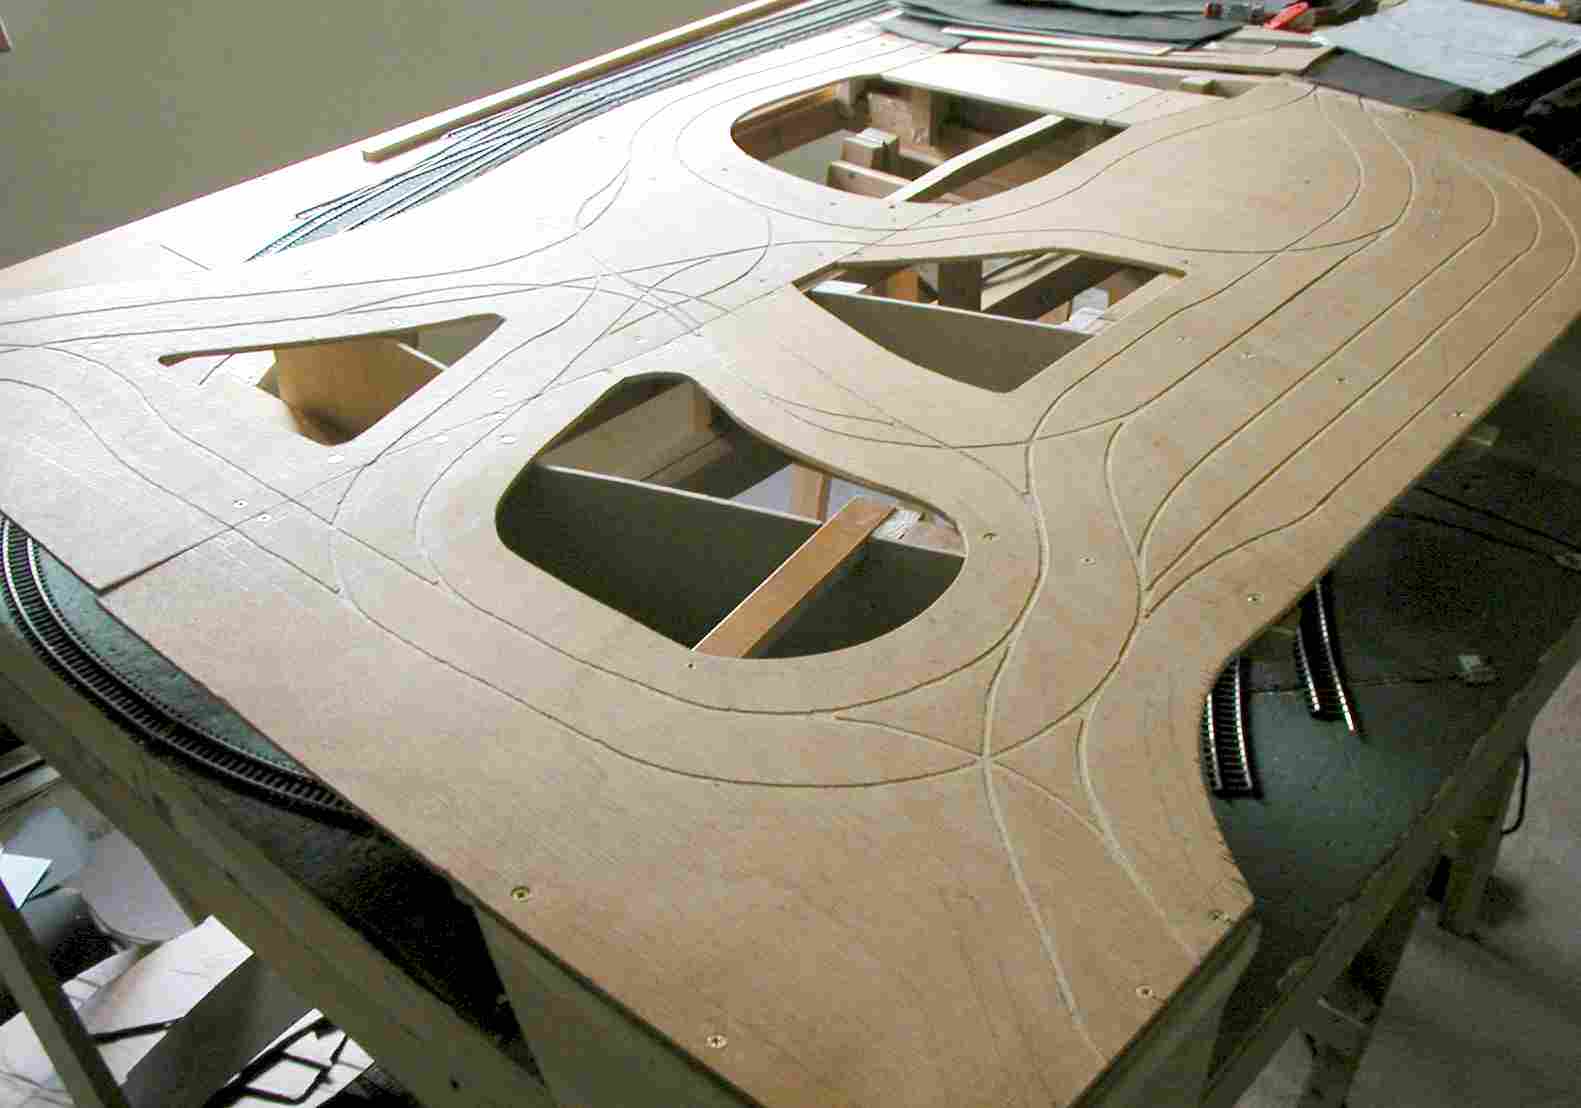
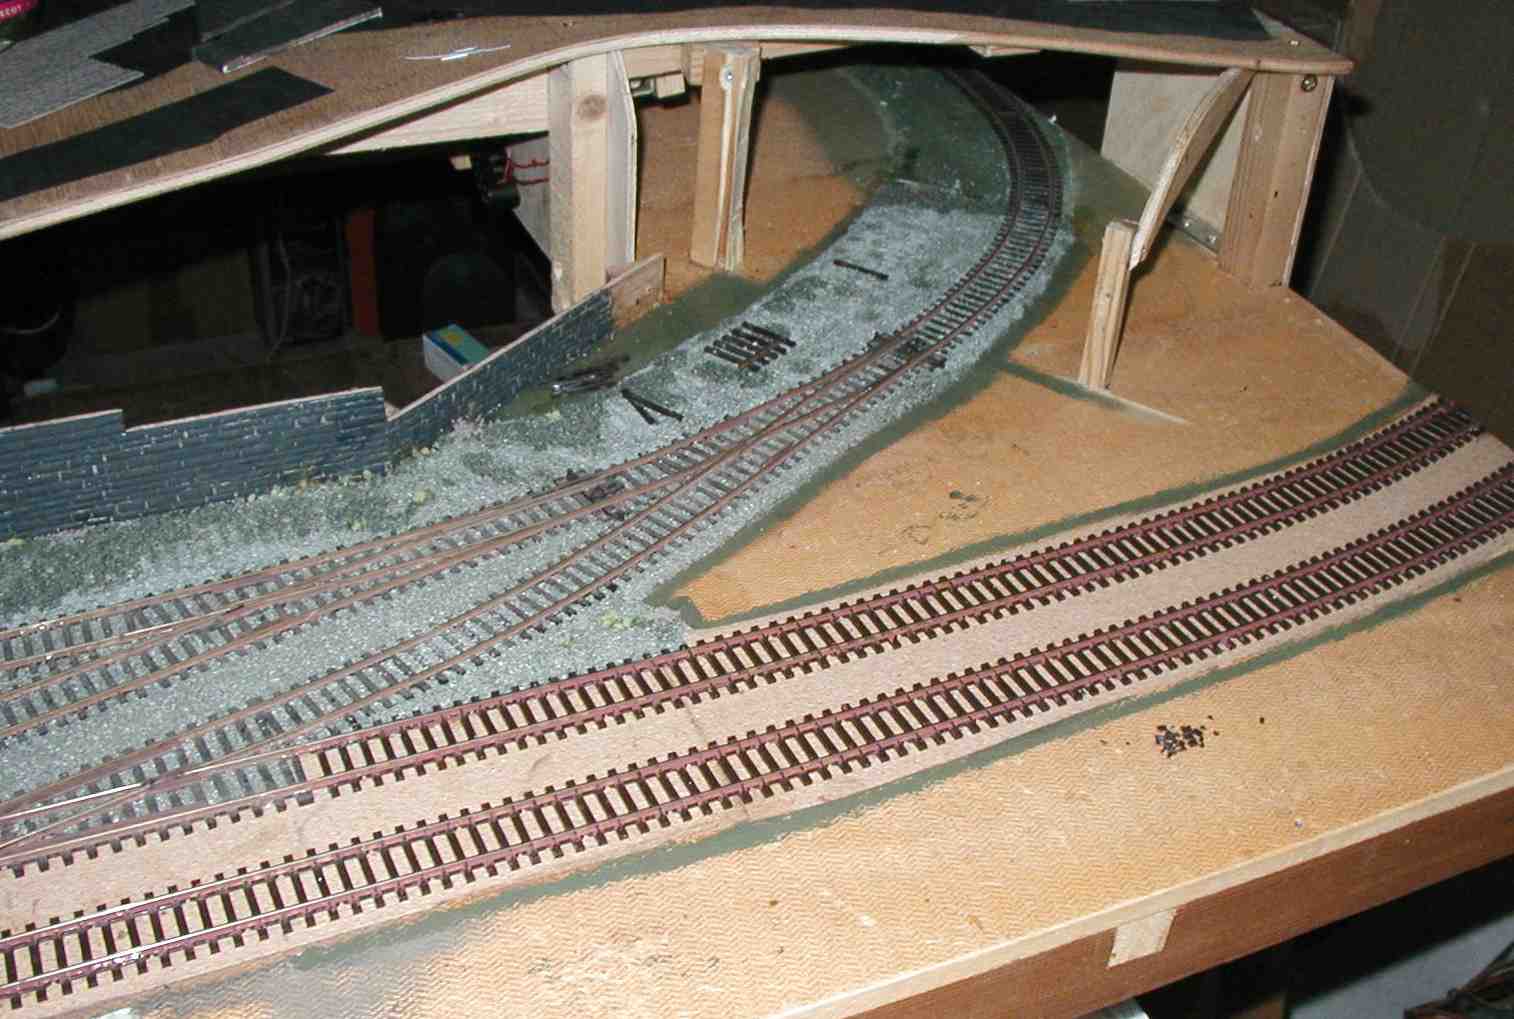
Boards 3 & 4 before work started on the roadways. The railway trackwork was altered to run off to the bottom right, ready for the planned future extension of the layout onto board 6. The main line still stopped short at the top left where it would eventually continue onto board 5.
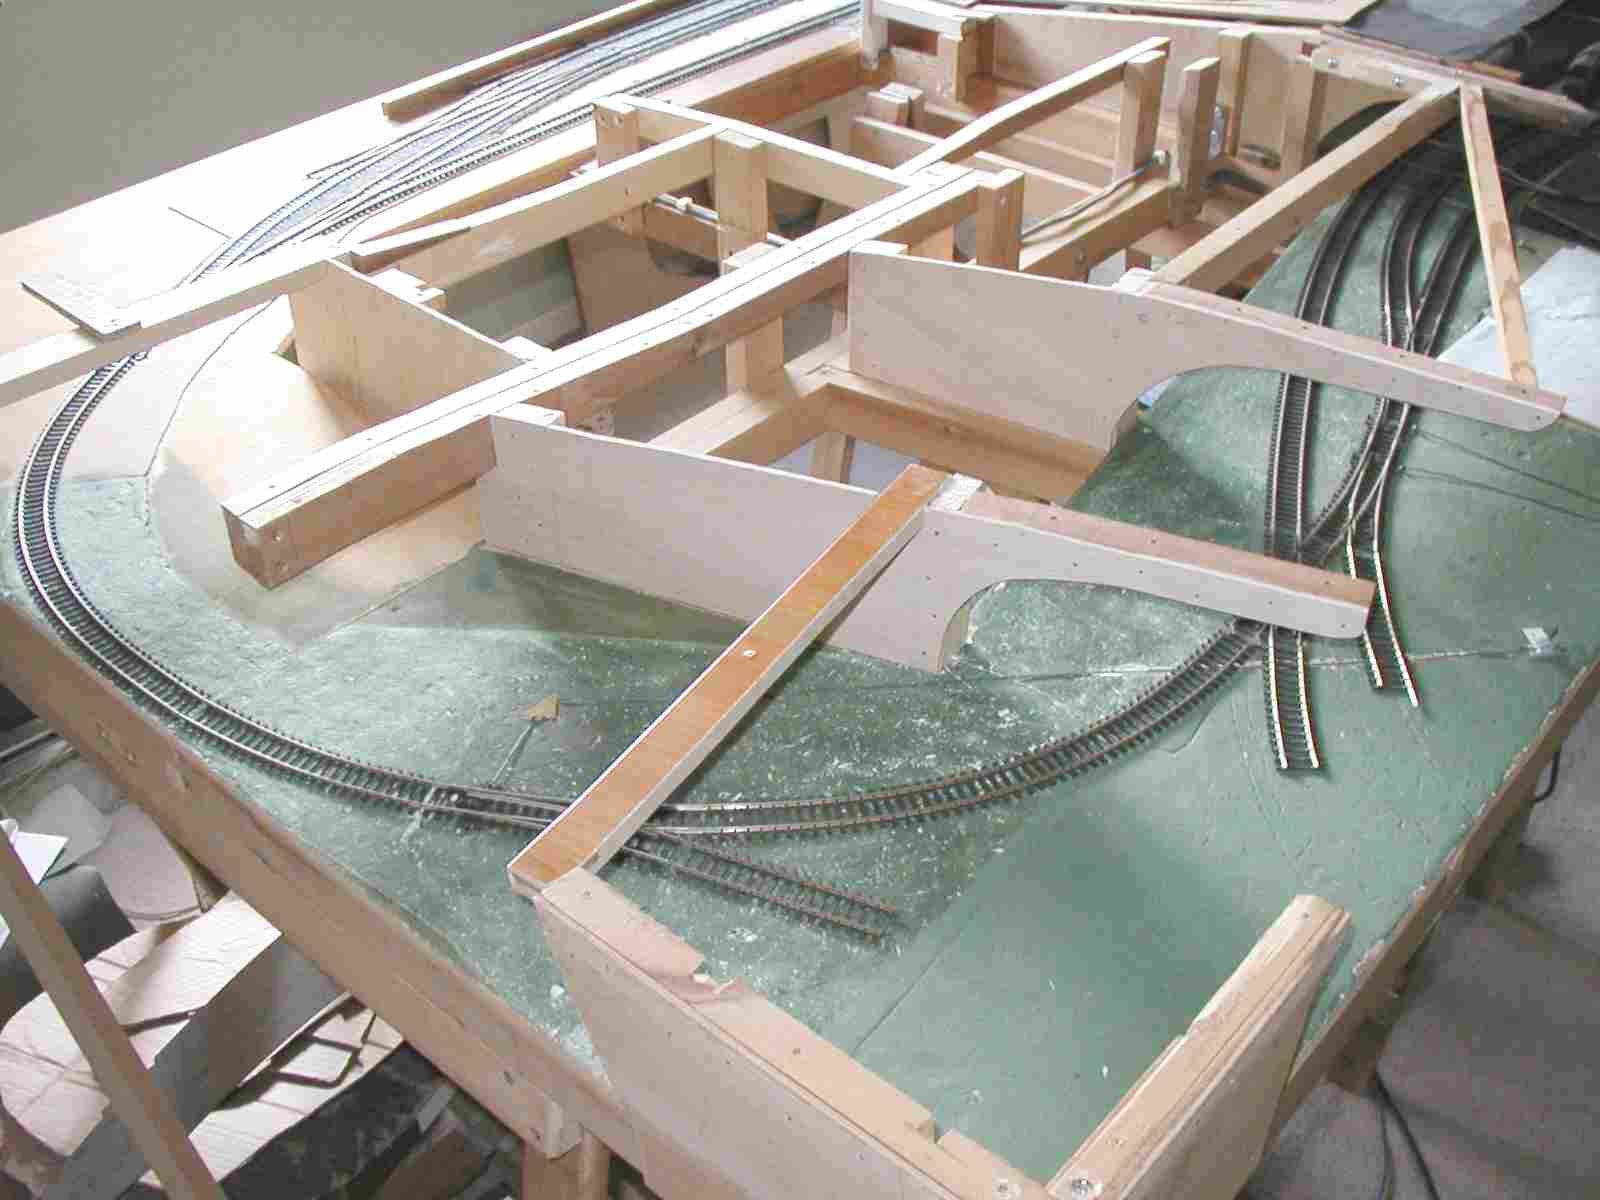
View after construction of all the supports needed for the roadways. These are on many levels, so many supports were required. There was also a board joint to negotiate!
The road surfaces applied, showing the complexity of the trackwork I expected to achieve. Not all will be wired for trolleybuses! (>>)
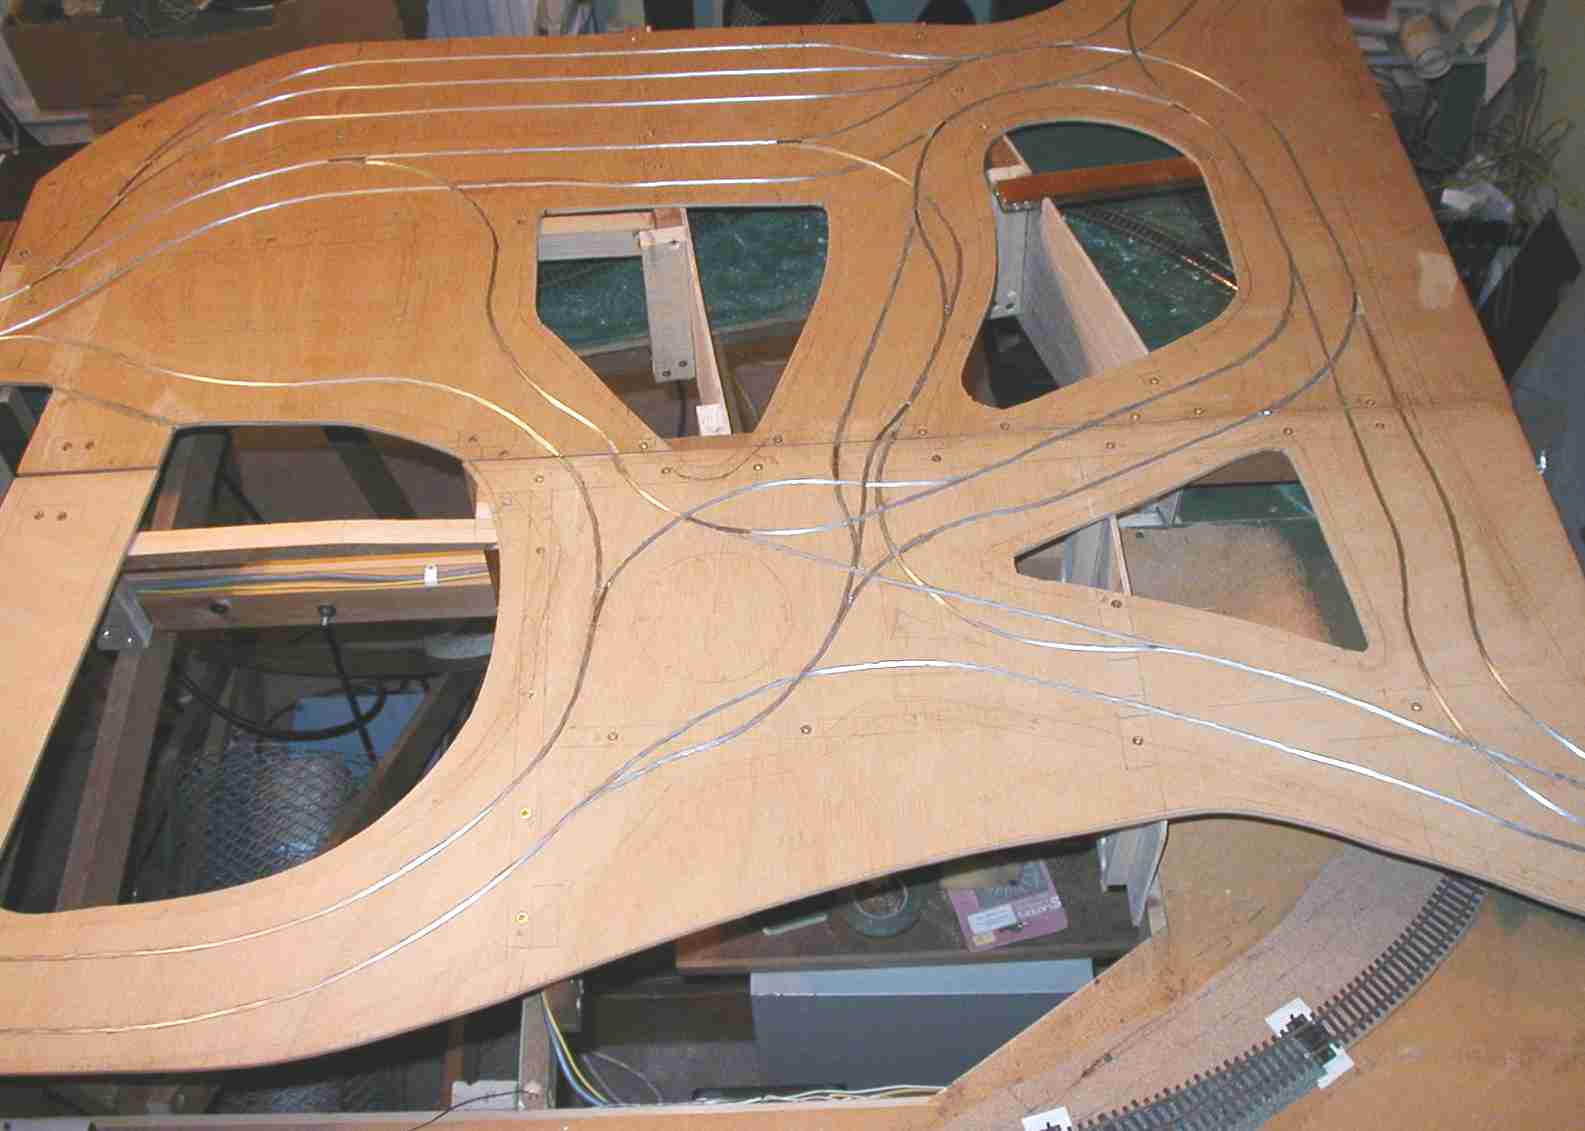
The guide wires and points in place. The three parallel tracks at the back will be the depot, the island near the front/centre will be a roundabout. Buildings will fill the 'holes'. (>>)
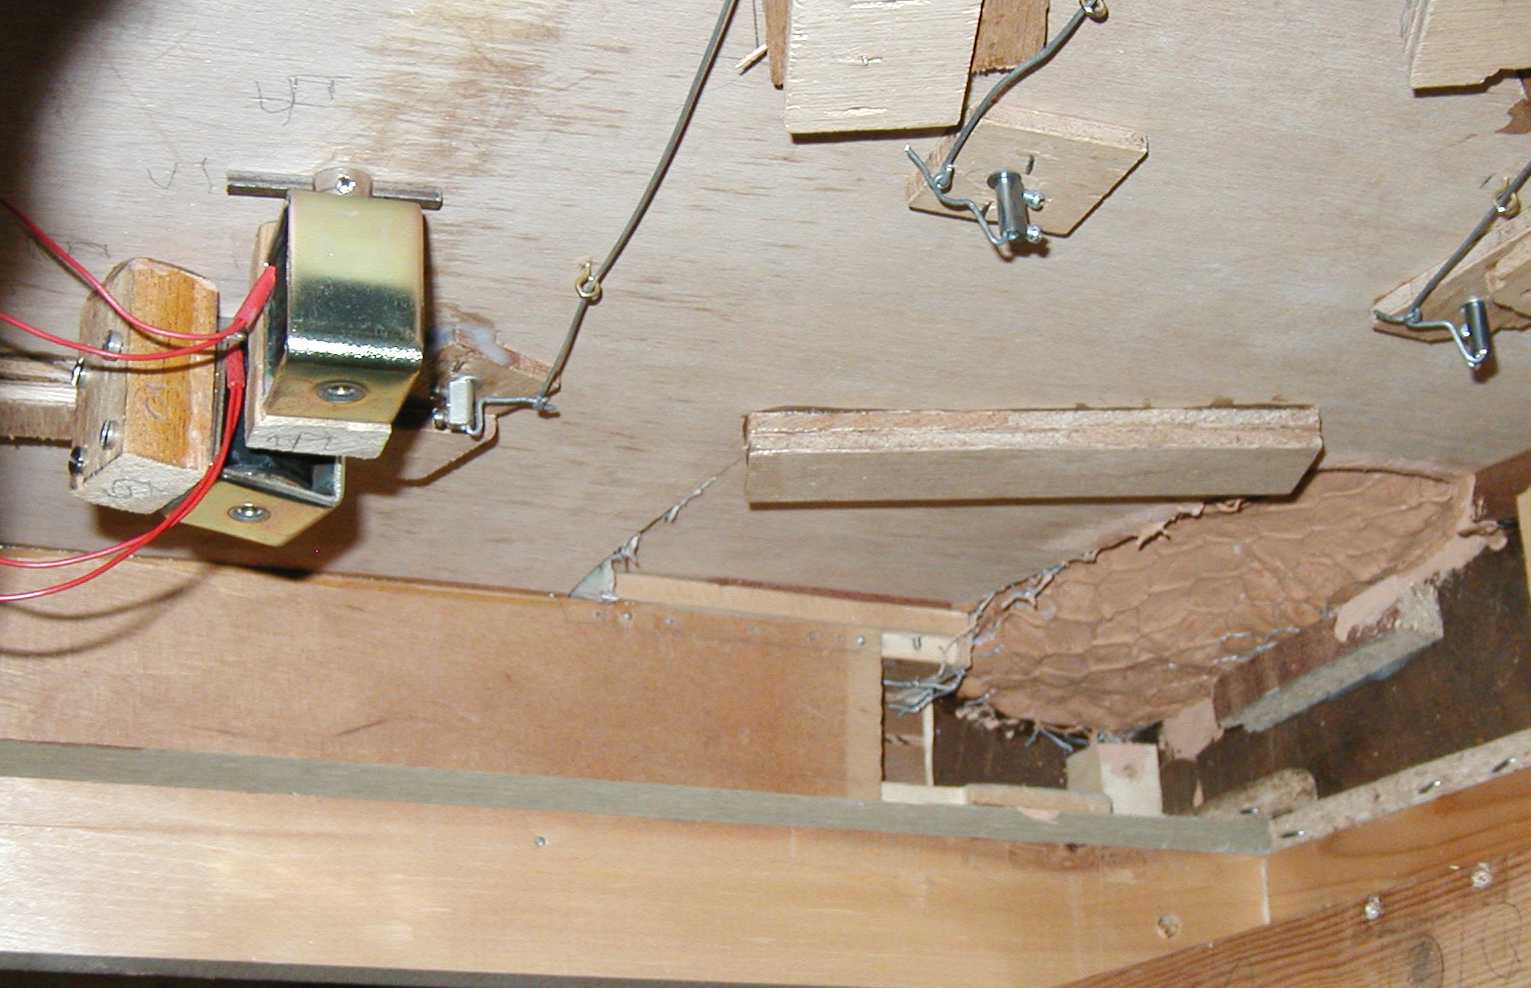
View under board 2 showing a cluster of 'Stop' magnets and the three point operating mechanisms. The latter are made using a simple mechanical rod system. Boards 3 & 4 were also fitted out in the same manner.
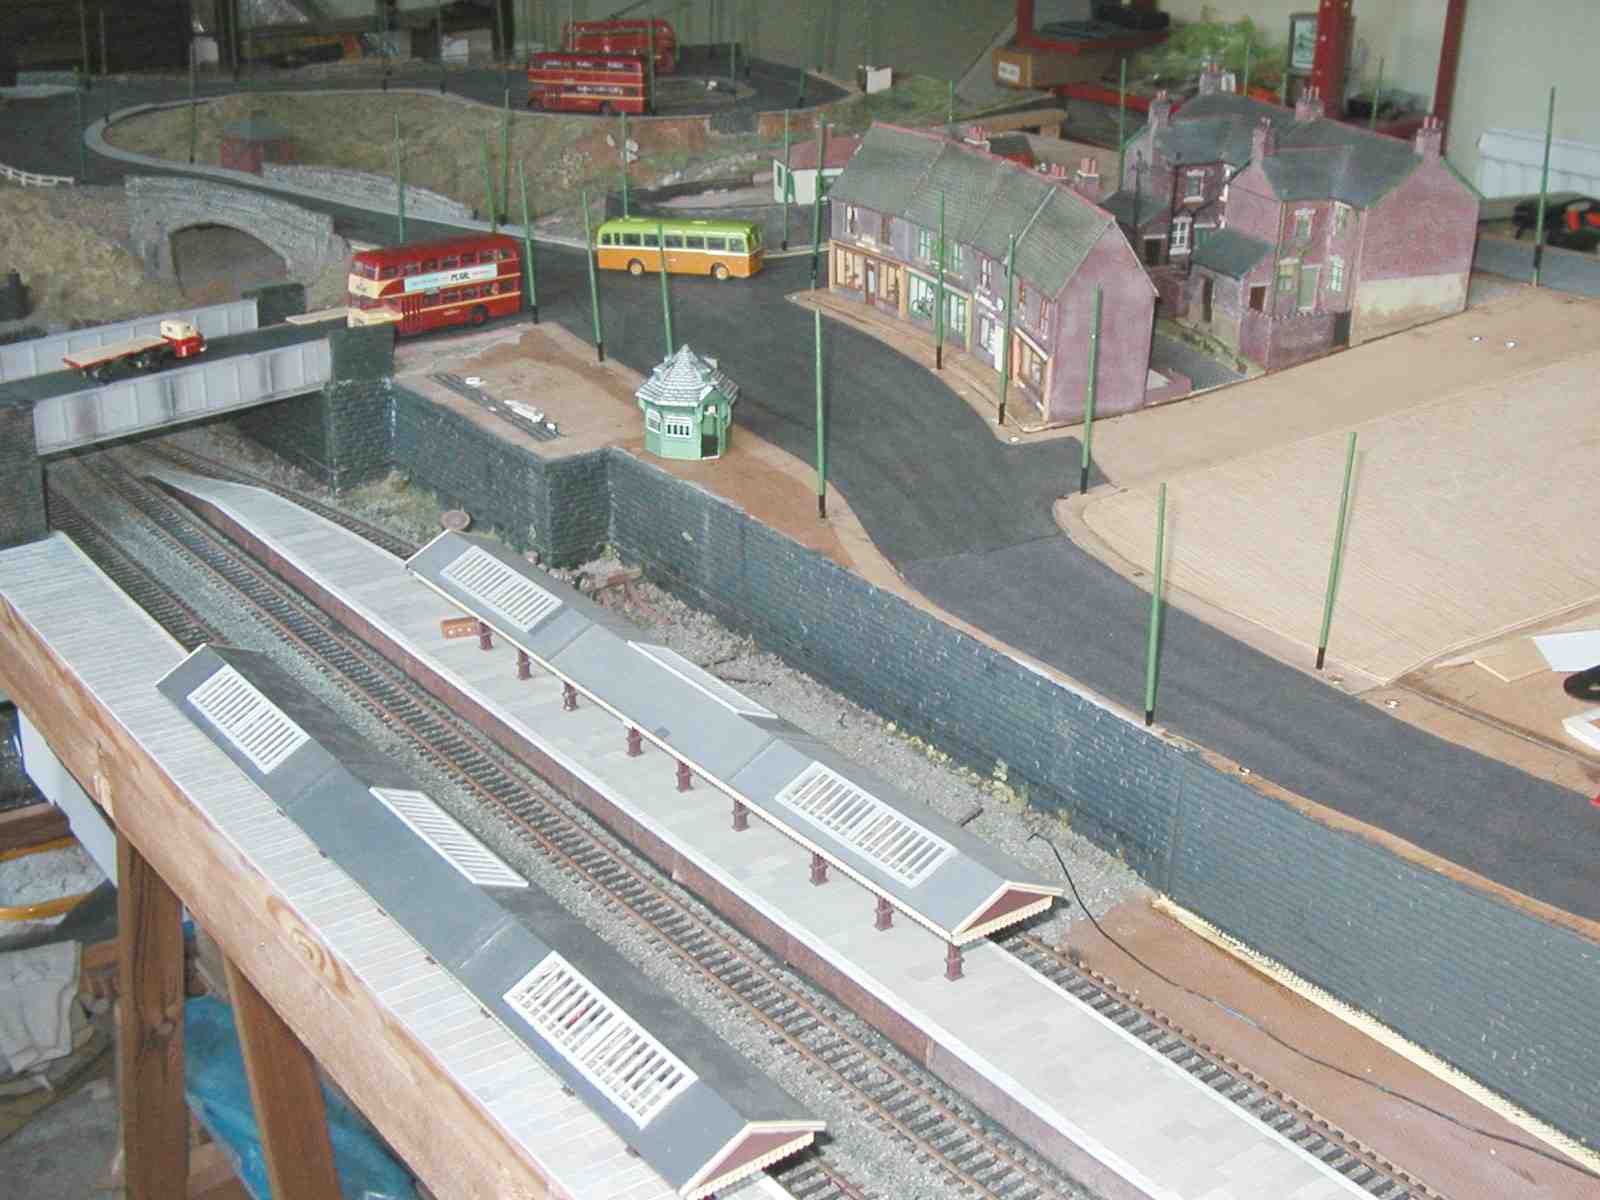
The second platform in place and the retaining wall extended. The shop and terraces module sits in the middle. All the trolley poles in position on boards 1 & 2, and the railway main line extended ready for connecting with board 5.
This shows the main line continuing off to the right ready for board 5 when the current arrangement is completed. It also shows the branch tunnel starting to take shape.
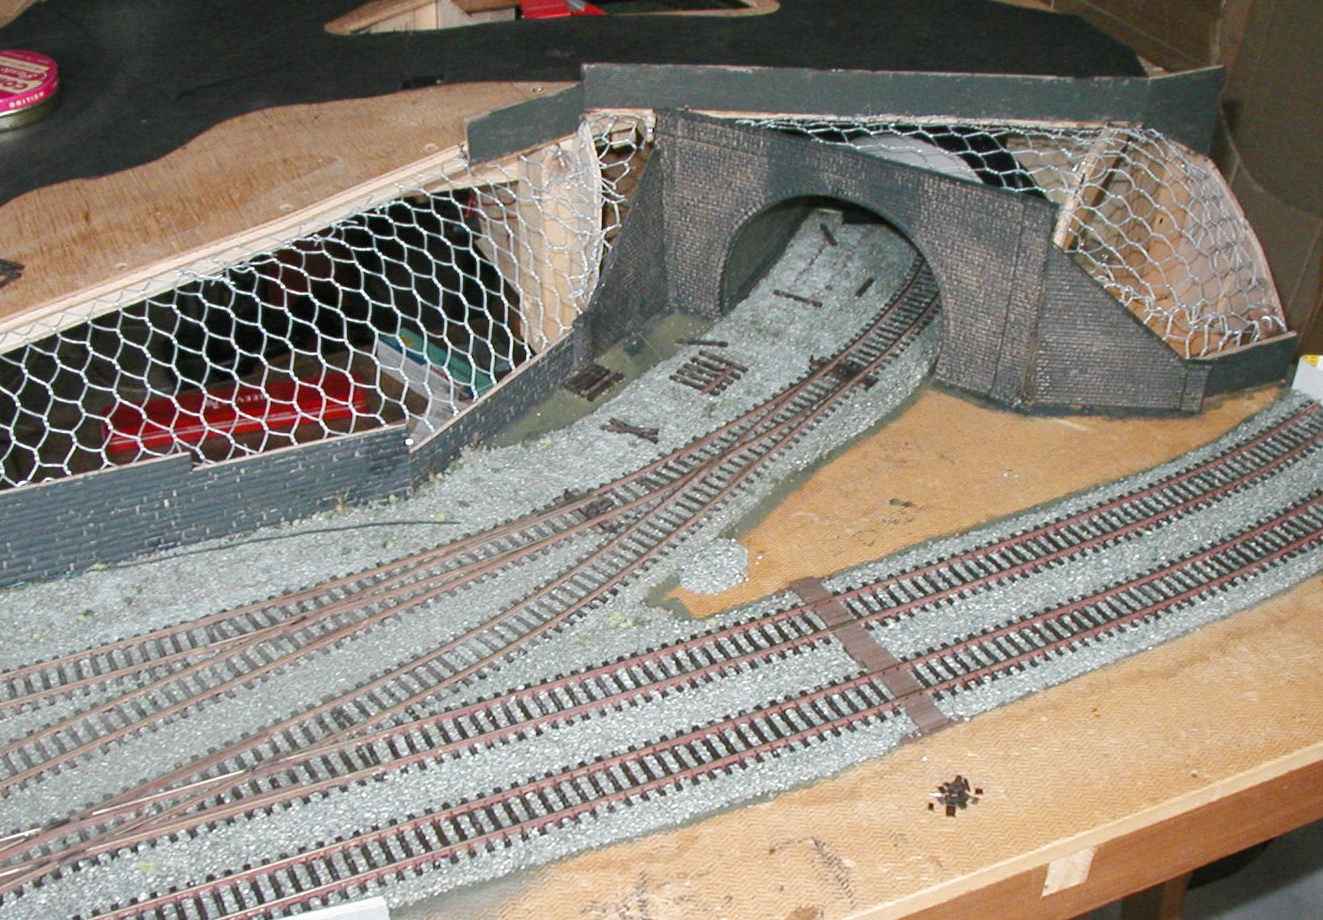
Main line ballasted and the tunnel now in position with wire mesh ready for addition of plaster and scenery.
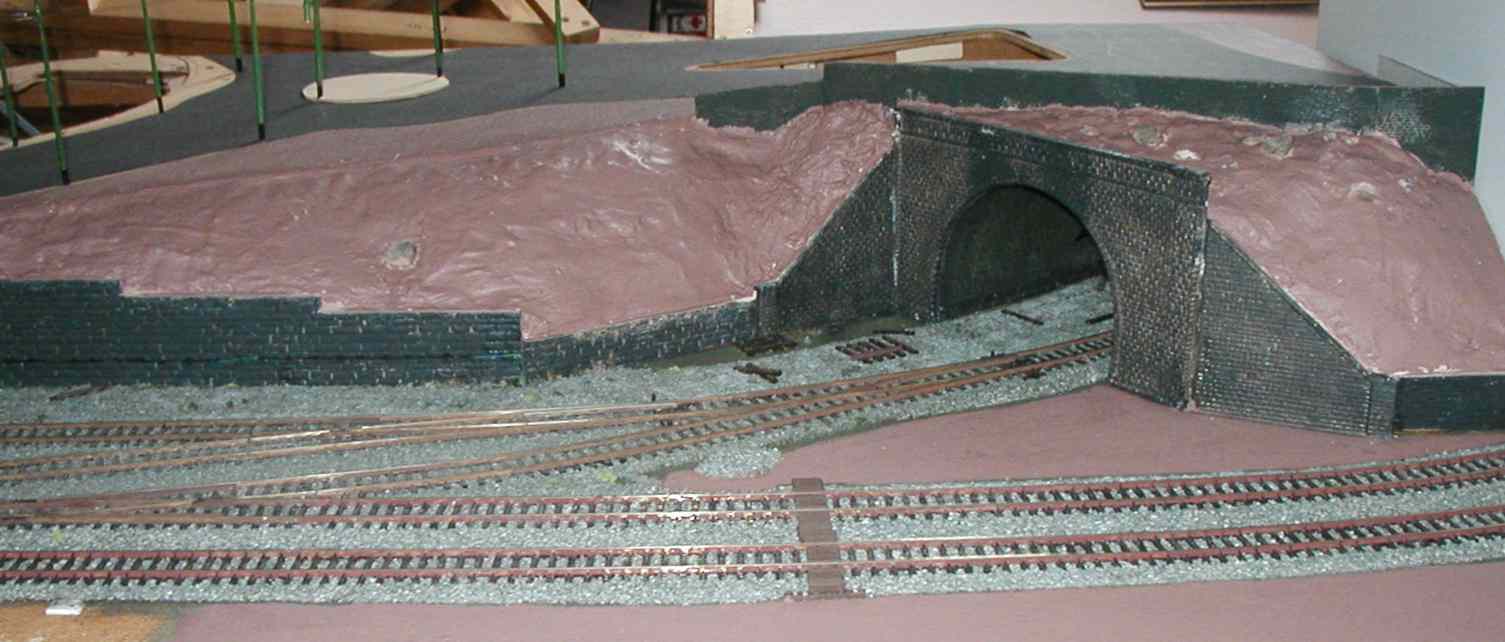
Plasterwork finished, but not yet detailed with grass, shrubs, trees and paths etc. A signal box will occupy the triangular space in front of the tunnel (see the last photo on the Locomotives page). Its access walkway is already in place across the main line.
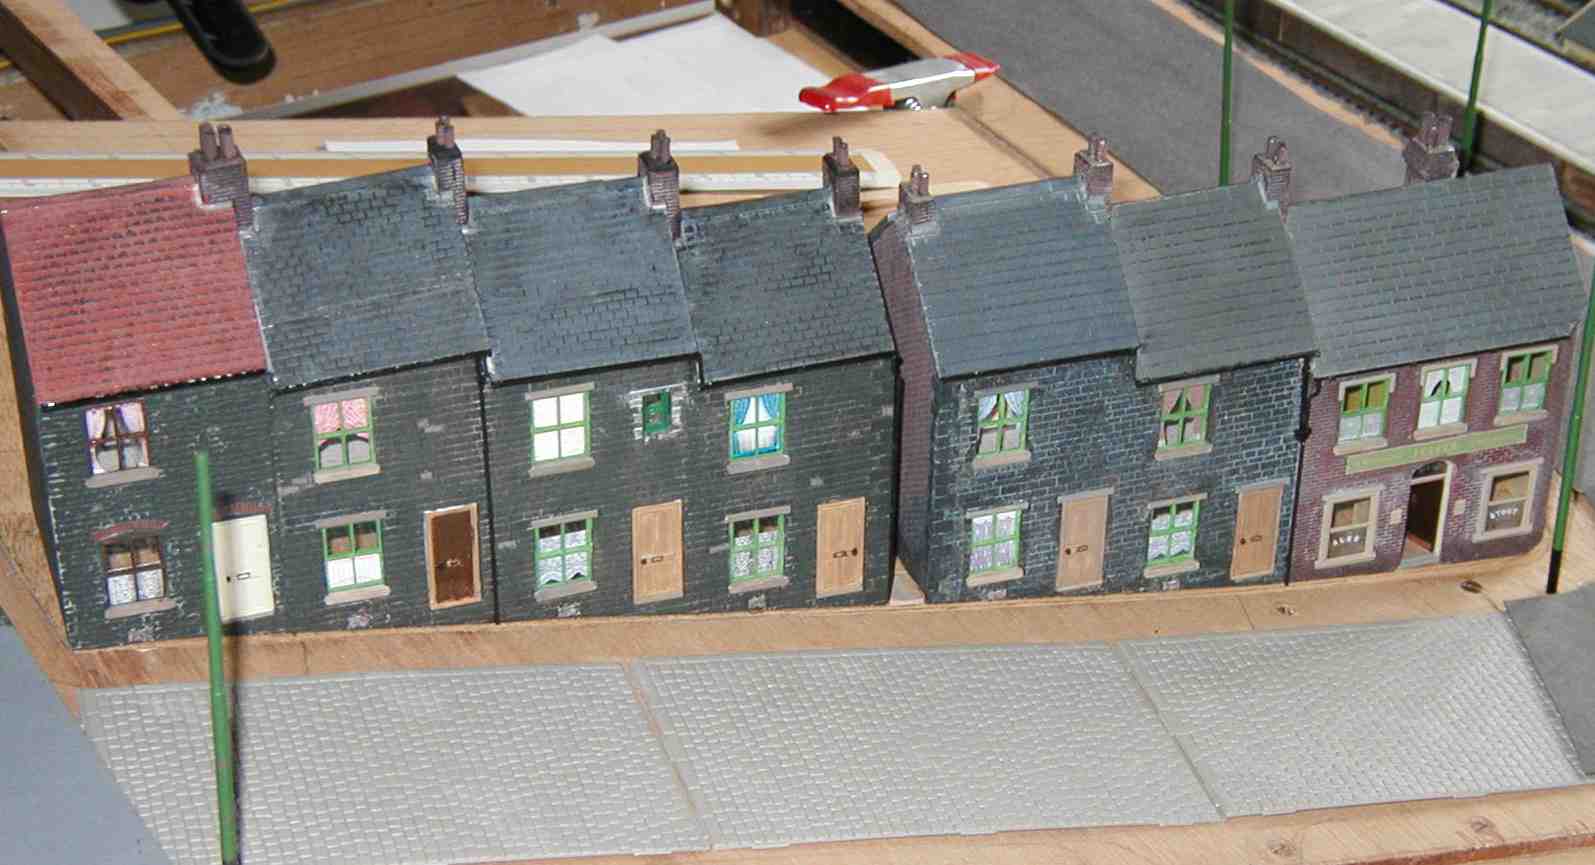
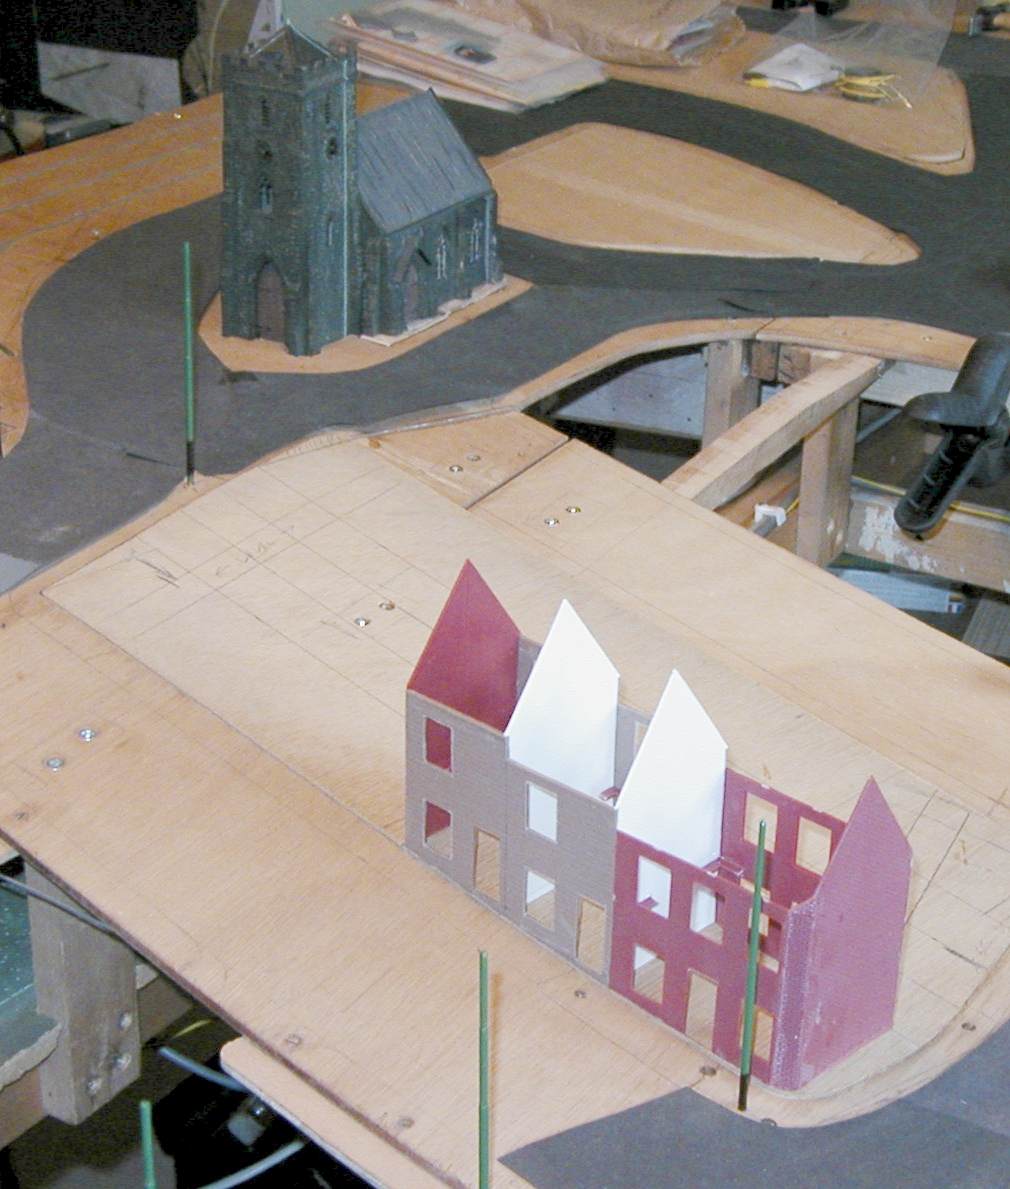 Part of the first row of terraces under construction beyond the
station. Being on a slope means that the houses have to be individually fitted into the
space. The street in front will be cobbled.
Part of the first row of terraces under construction beyond the
station. Being on a slope means that the houses have to be individually fitted into the
space. The street in front will be cobbled.
In addition, a church has been re-roofed, weathered and mounted in position.
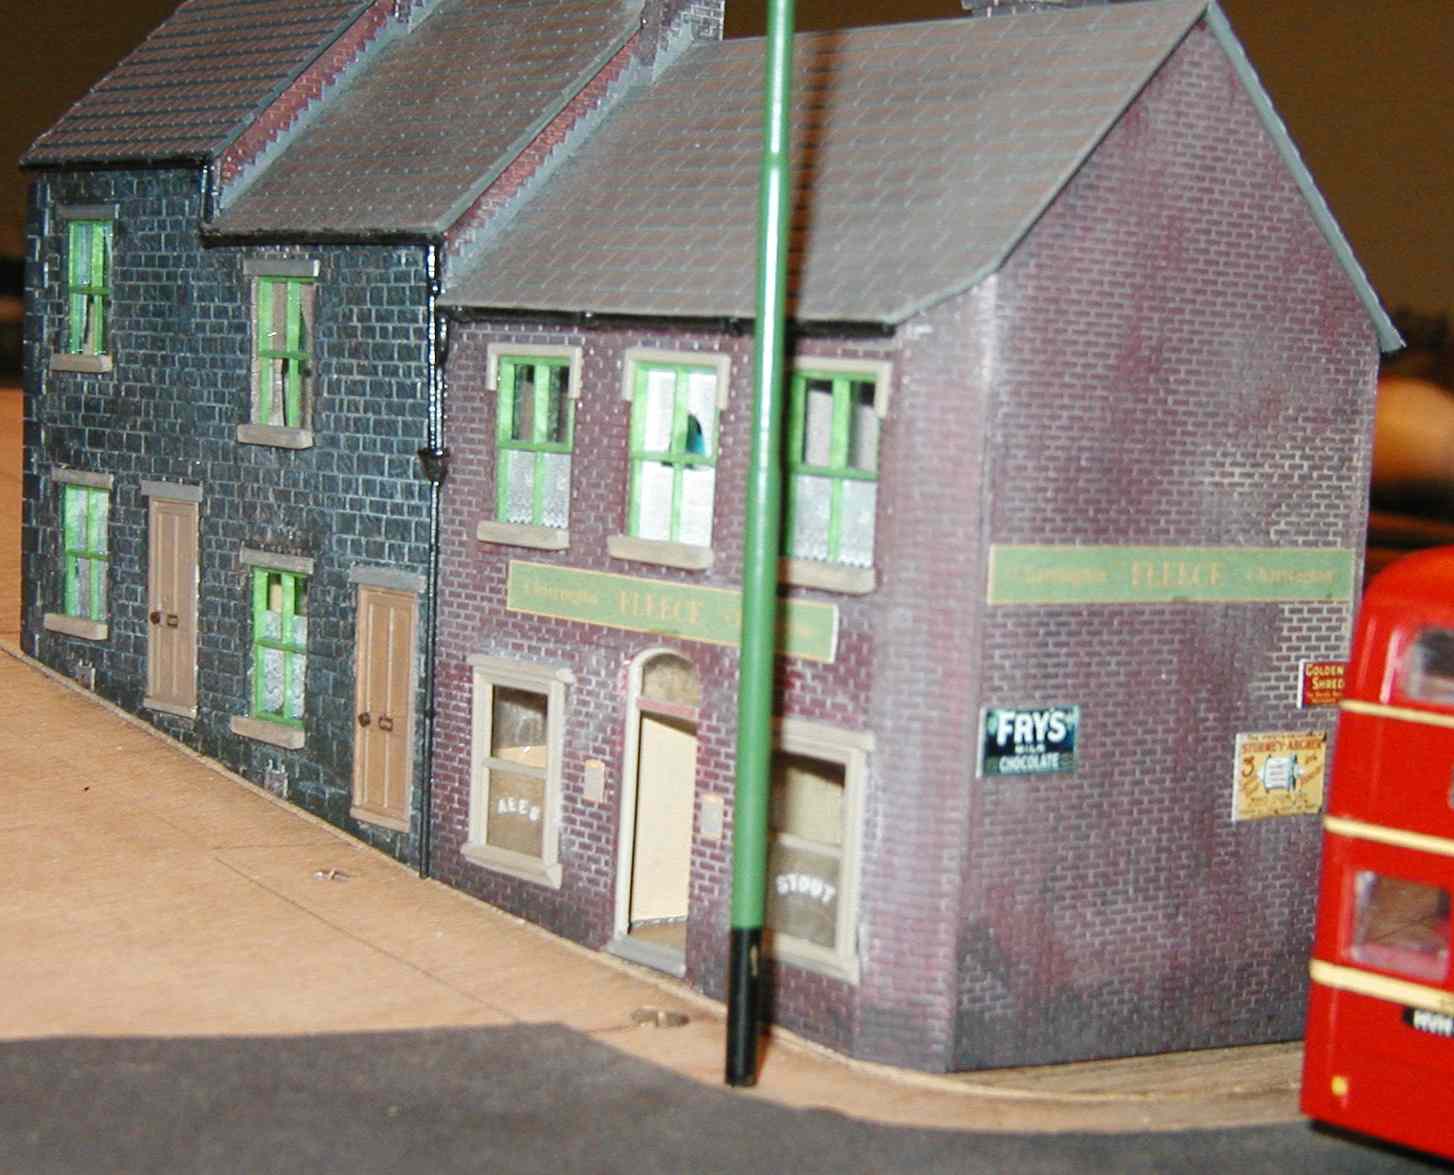
The first block finished This is a close up of "The Fleece"at the end of
the row. The house steps will be onto the pavement, not yet fitted. (>>)
The second block finished, forming a complete row up the hill. There is a typical 'ginnel' in between the rows. Only two more blocks to go! The back yards and lane in between the two rows will be tackled after all four blocks are finished.

Work starting on the next row of terraces. I had decided to build the two blocks at once this time, so these are the shells of both in position to check for square and level.
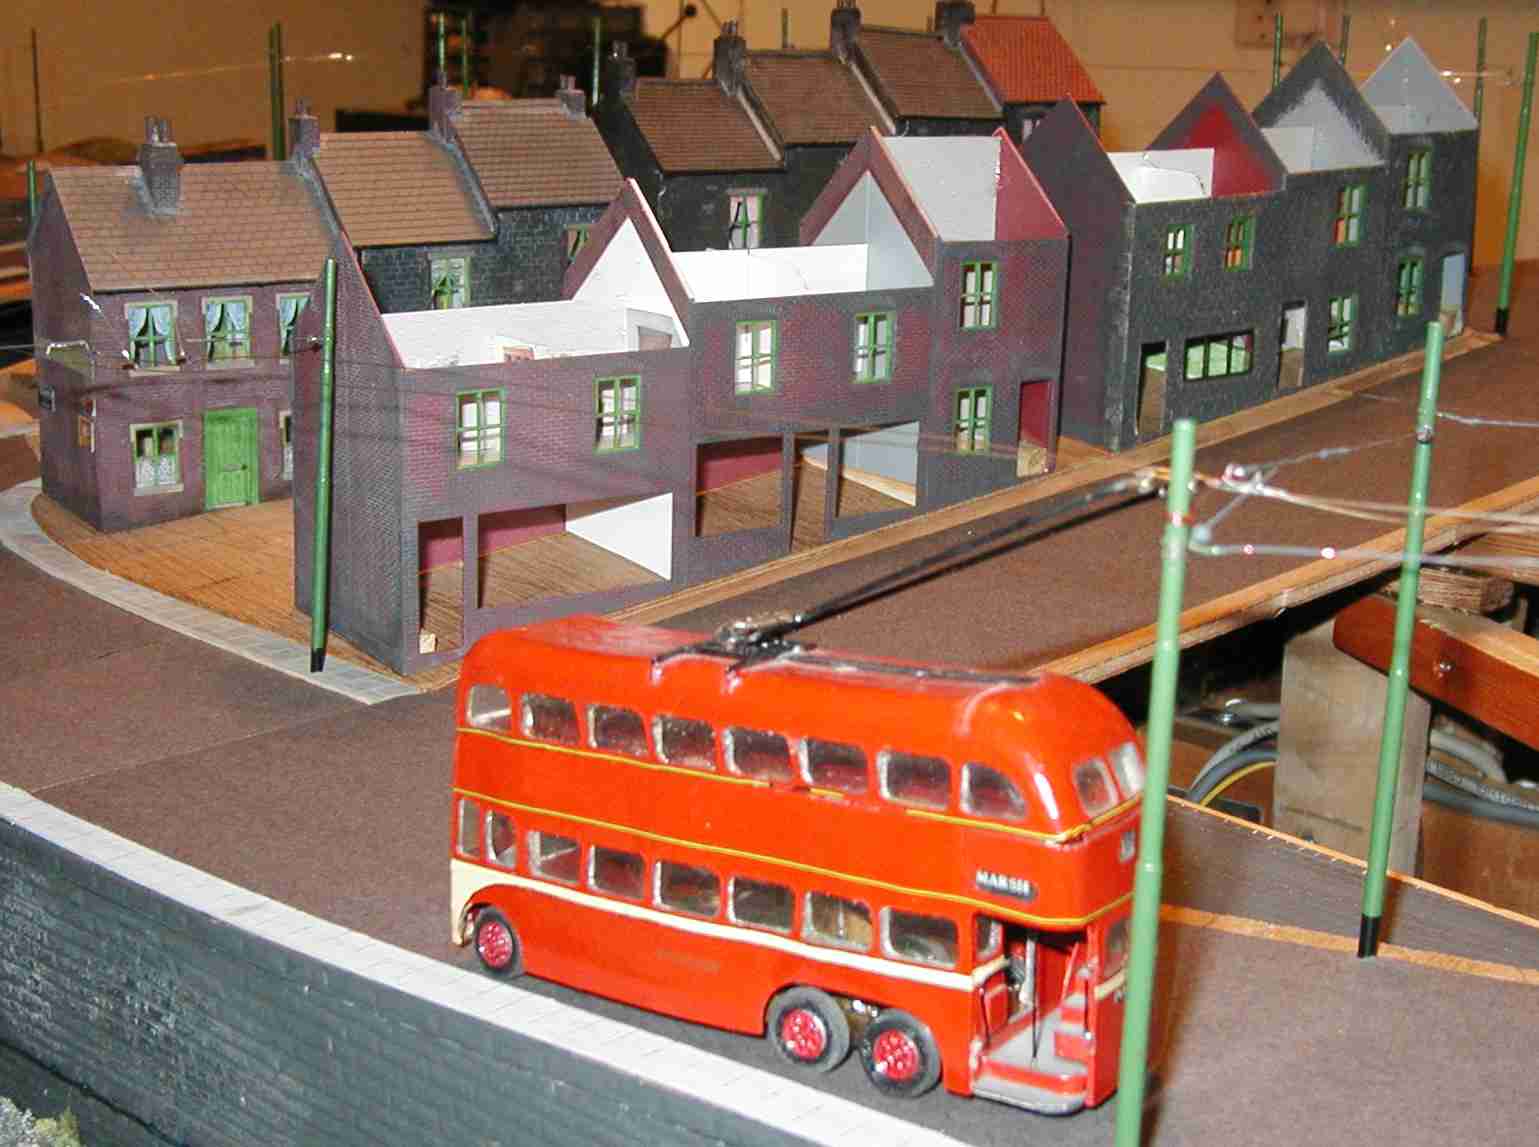
The new row in place, with more shops at the bottom. Interior walls and windows had appeared, and they'd had their first coat of weathering. More detailing needed to be done before the roofs and chimneys could be fitted.
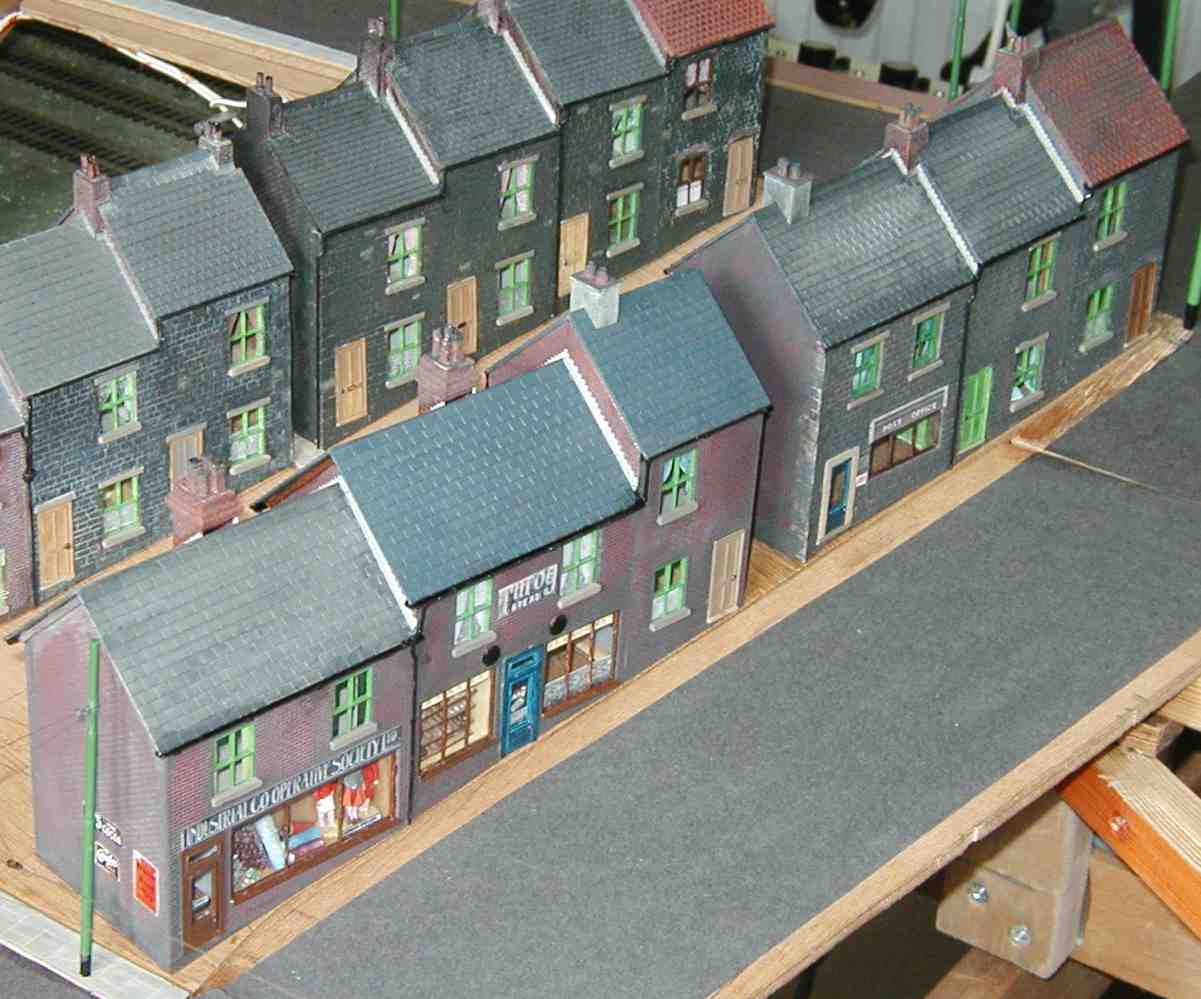
The two new blocks finished after detailing on the roofs, chimneys and shop windows.

View from the top of the hill. Pavements were still required, as were the yards at the backs of the houses.

Close-up of the shop windows. (>>)
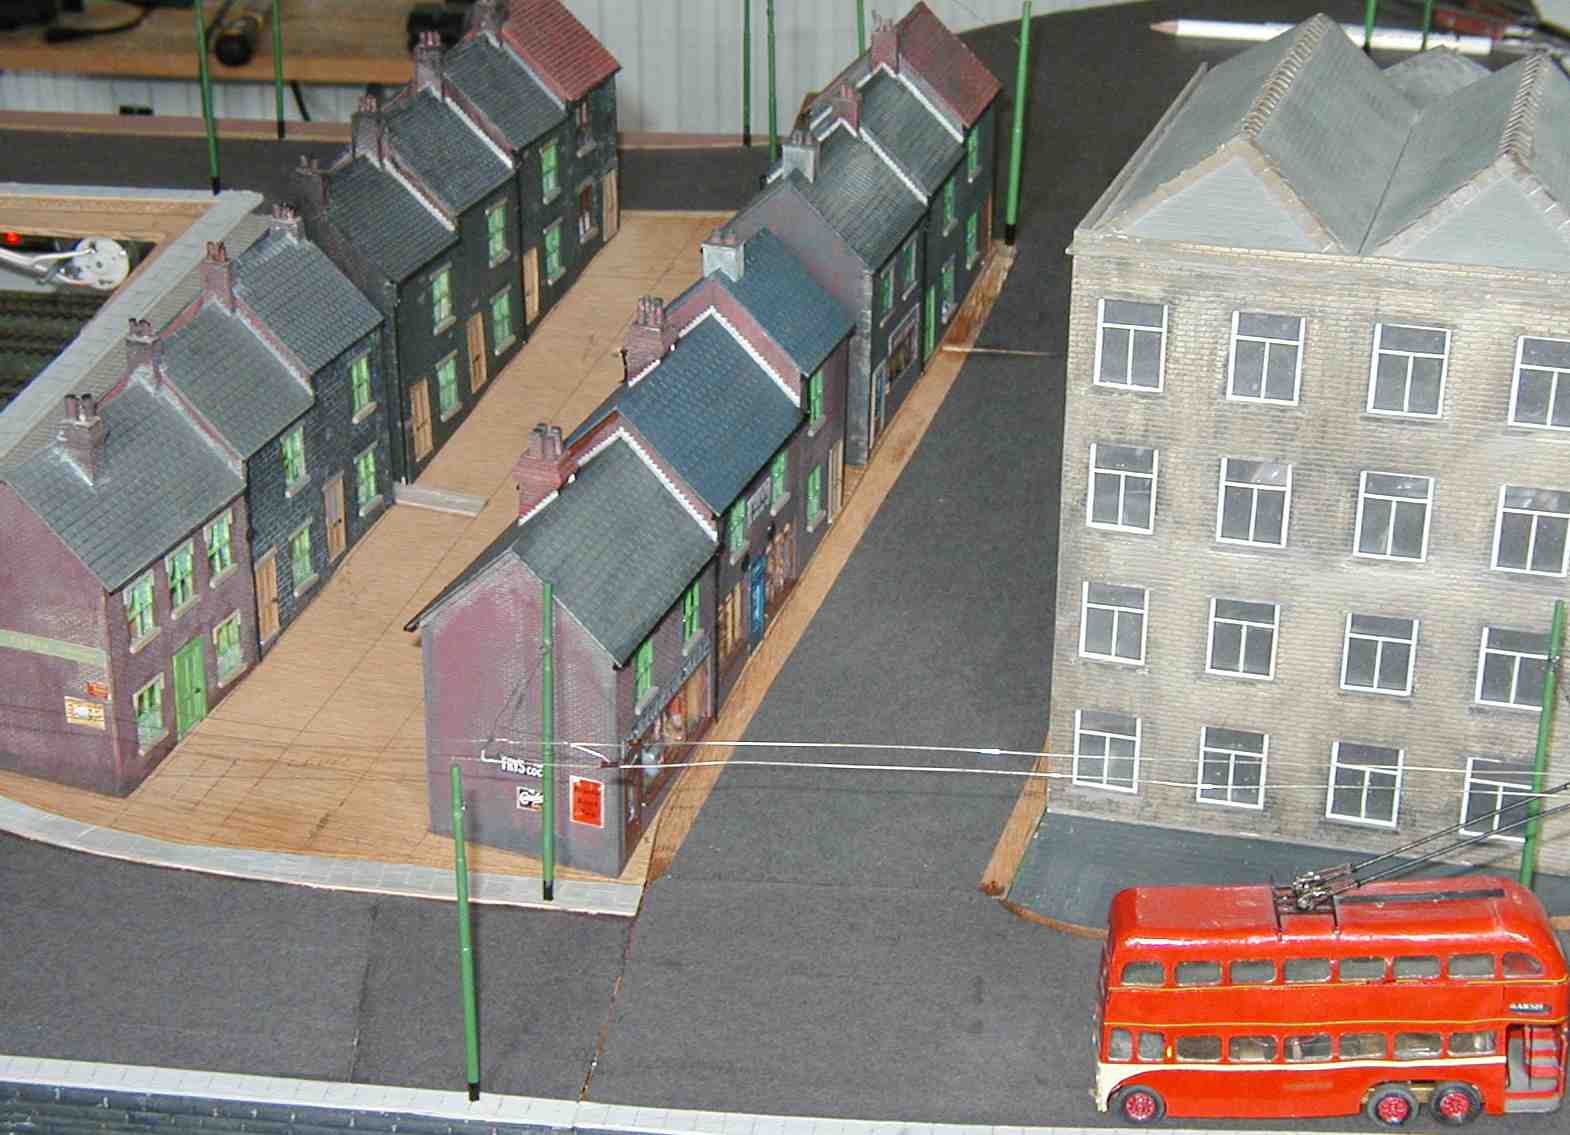
View with the mill in place (more views below). You can also see the overhead now erected. For more details on this specialised subject, see the Overhead page.
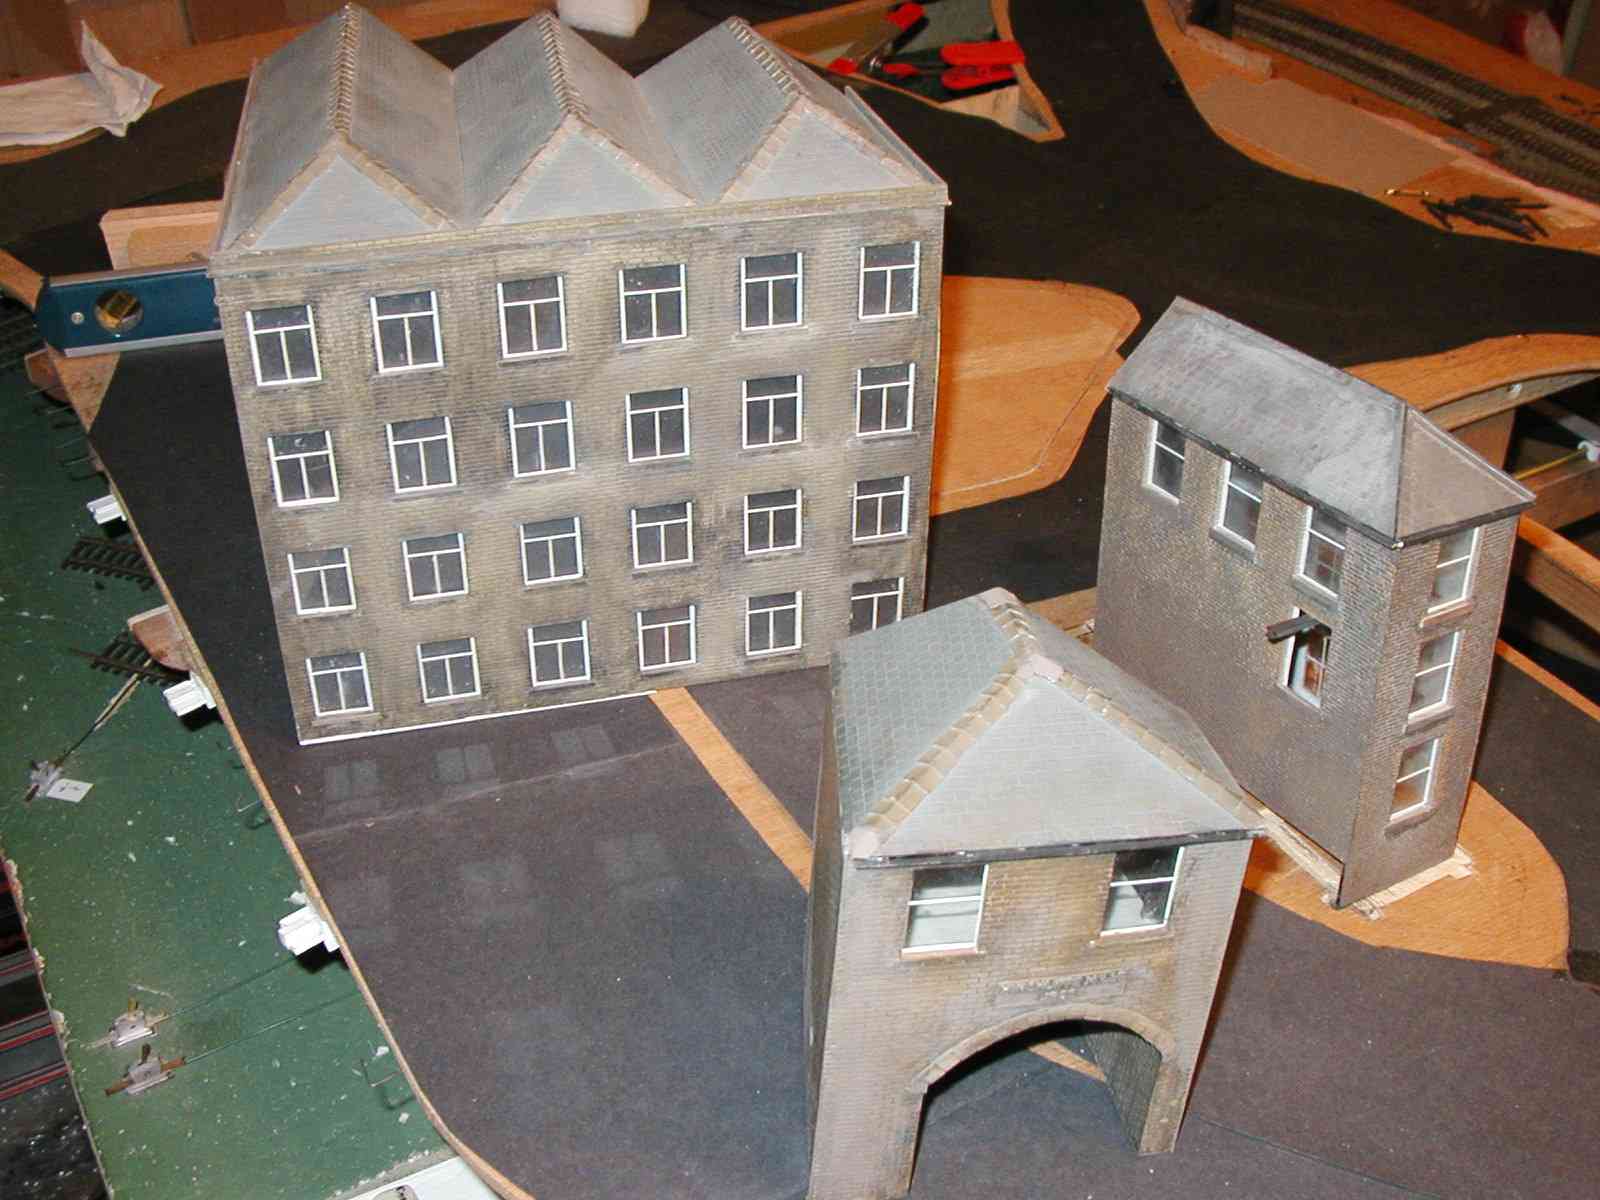
The mill mentioned above was given to me by a fellow modeller when it was surplus to his requirements. Here it is split up into its component parts ready for re-configuring.
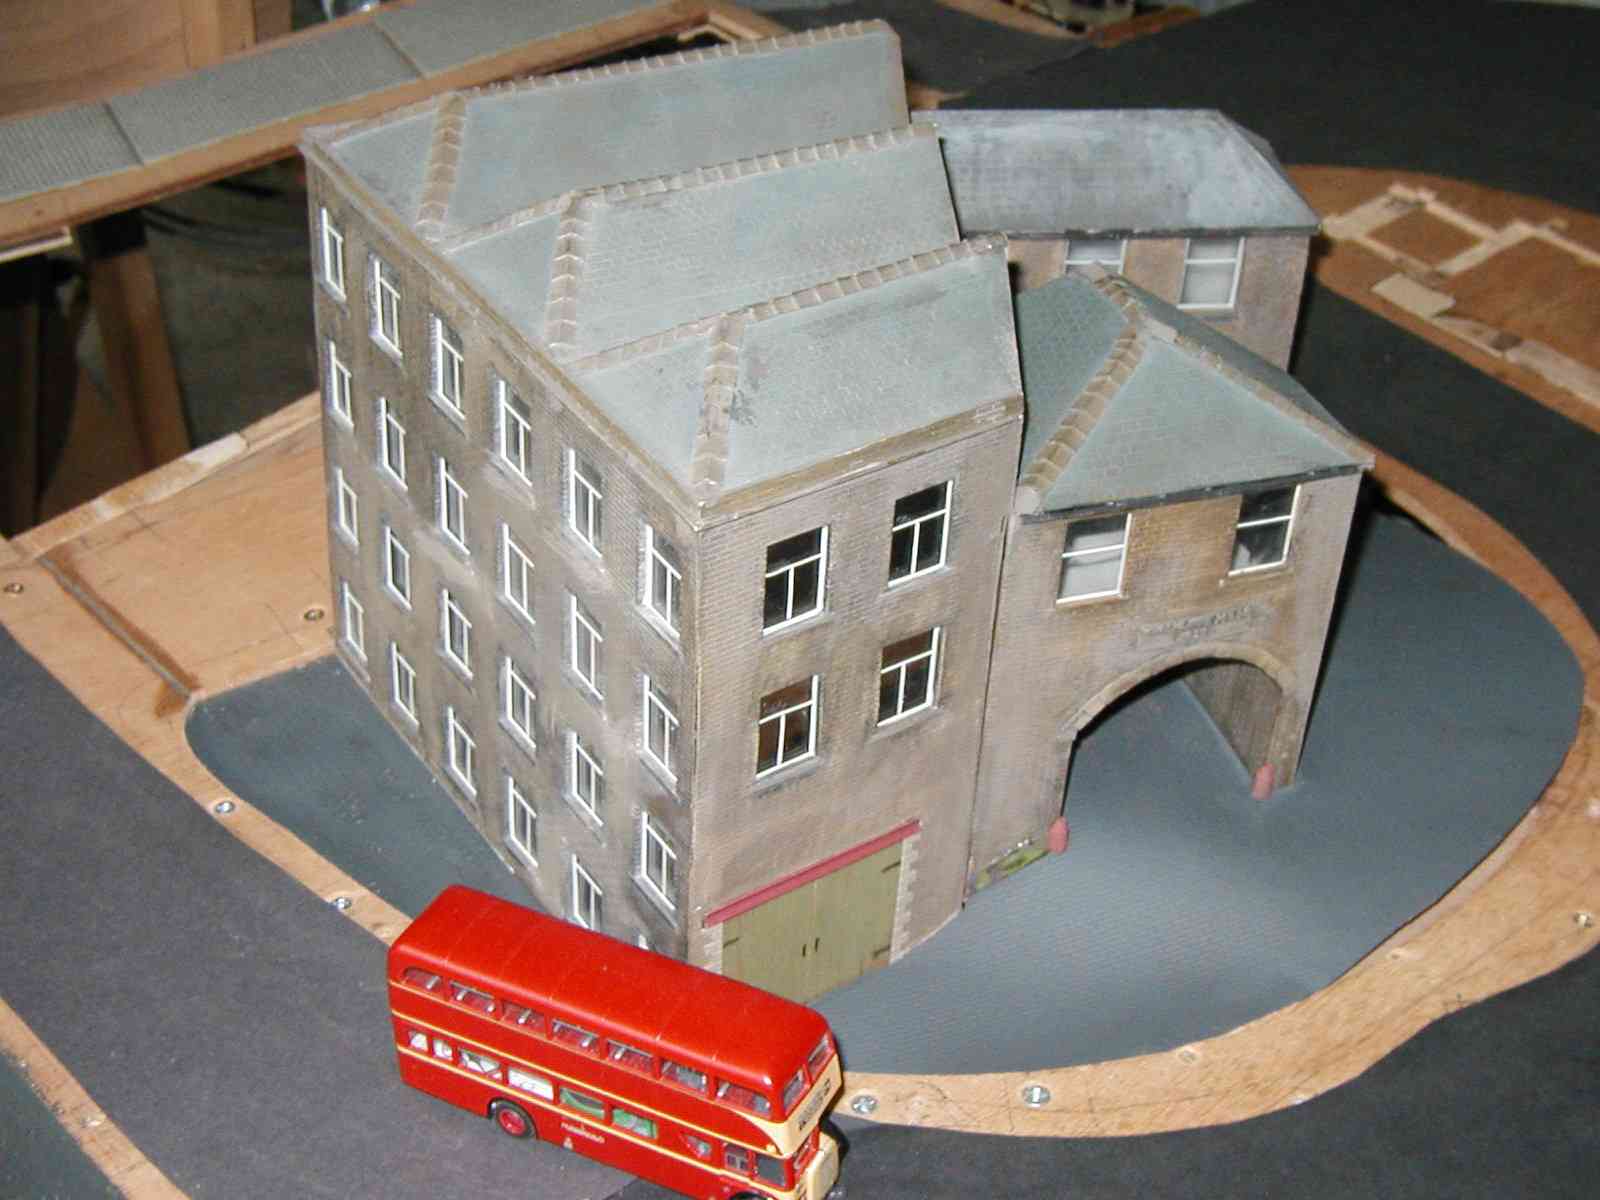
The mill repaired, and rebuilt into a shape that would fit into one of the spaces in Ridings.
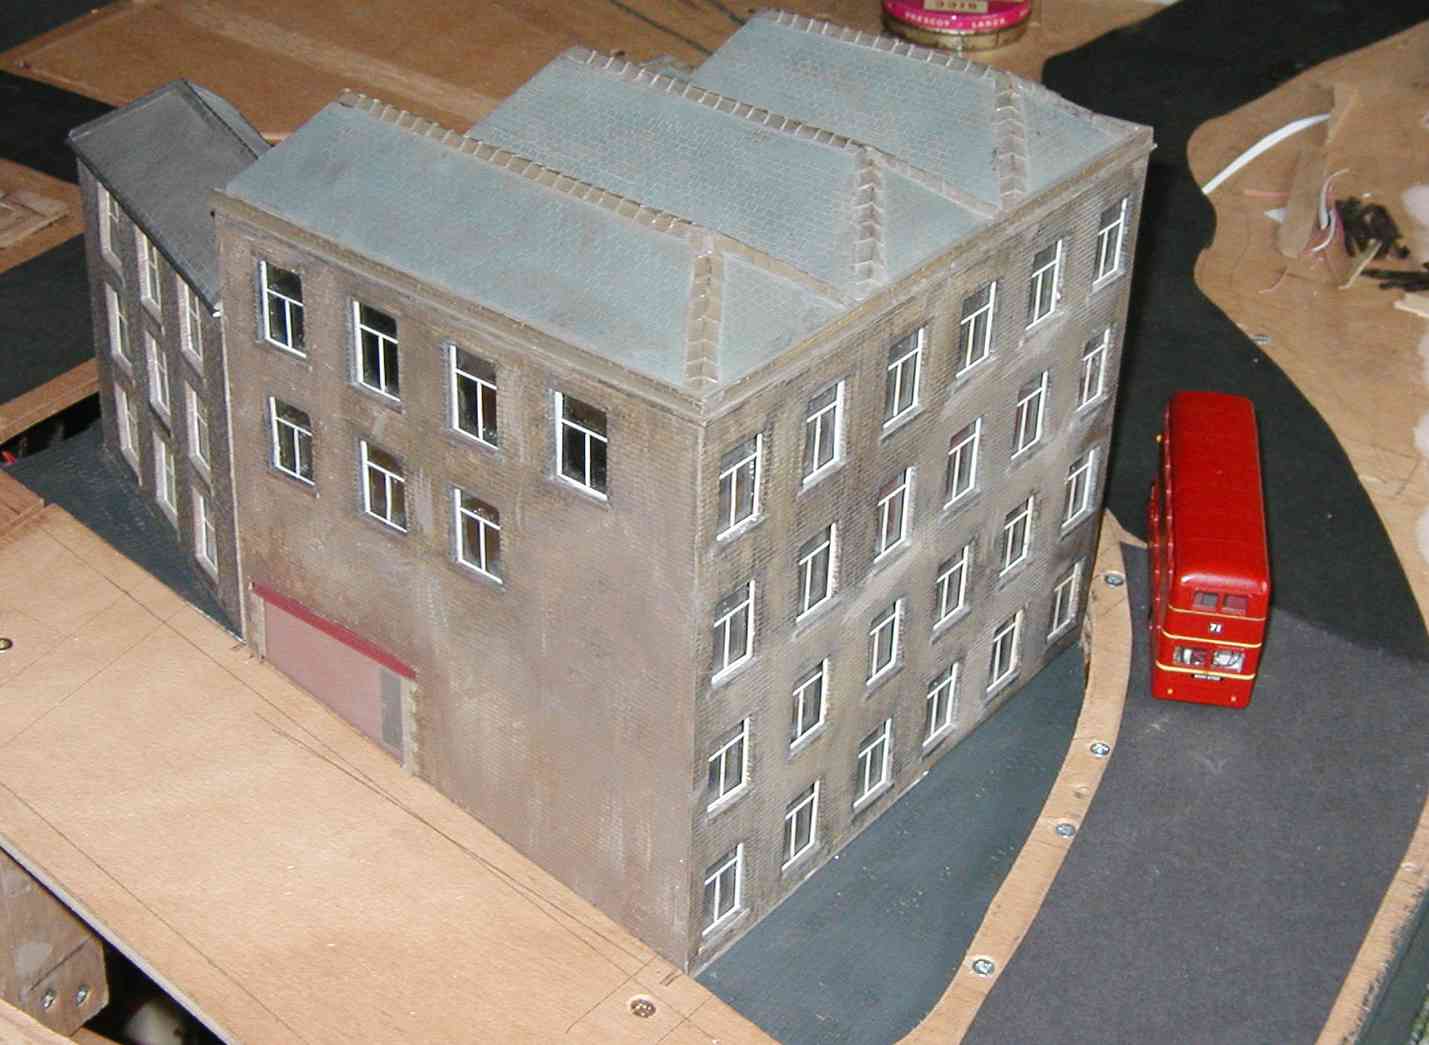
And a view from the opposite side. Surgery was applied to the entrances and the doors were altered. I fancy a tall mill chimney when I have the time!